|
Author
|
Topic: Bandai 1:10 Extravehicular Mobility Unit (EMU)
|
Robert Pearlman
Editor Posts: 42982
From: Houston, TX
Registered: Nov 1999
|
 posted 06-27-2011 10:41 AM
   
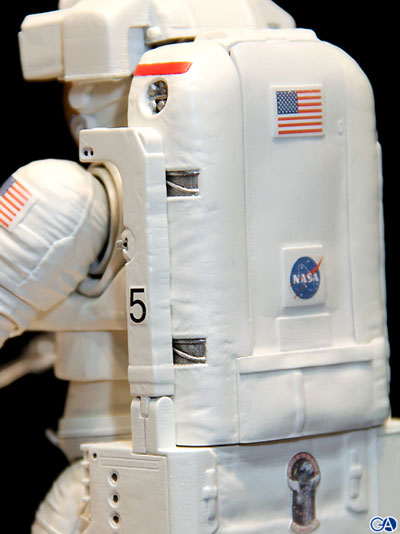
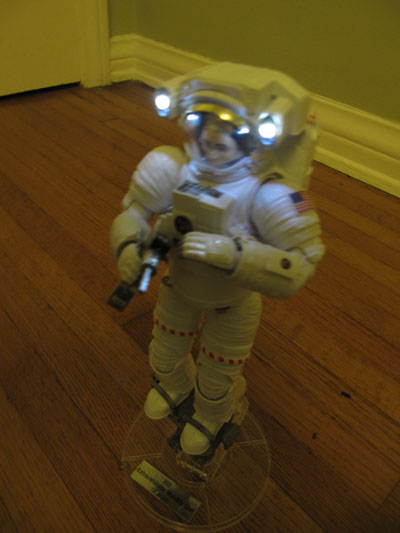
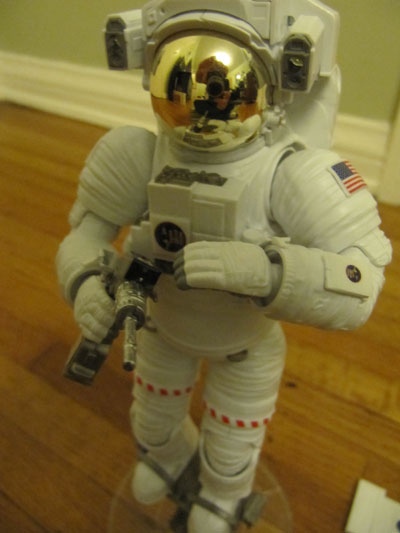
Bandai's Hobby Department (separate from its Otona No Chogokin series) has announced a 1:10 scale "ISS Space Suit" Extravehicular Mobility Unit (EMU) for release in September 2011.The product is listed as a "kit" but then mentions painted parts, and given a retail price of 6300 Yen (~$80 US), is likely an assembled, painted model. Features include: - LED-lit helmet lights
- "Movable articulations"
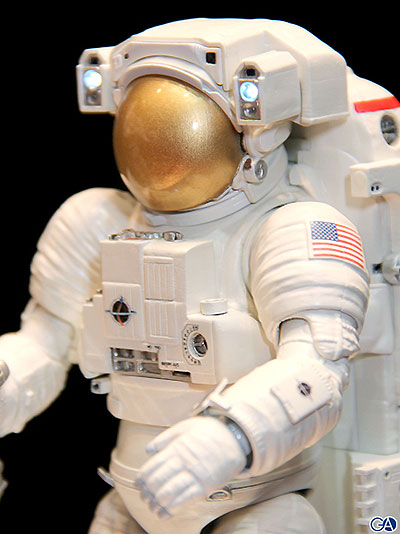
- Gold-plated helmet visor that opens and closes
- Removable helmet
- Removable SAFER and helmet cam unit
- Pistol grip tool (PGT) included
- Articluating Portable Foot Restraint (APFR) and stand included
Photos credit: GA Graphic 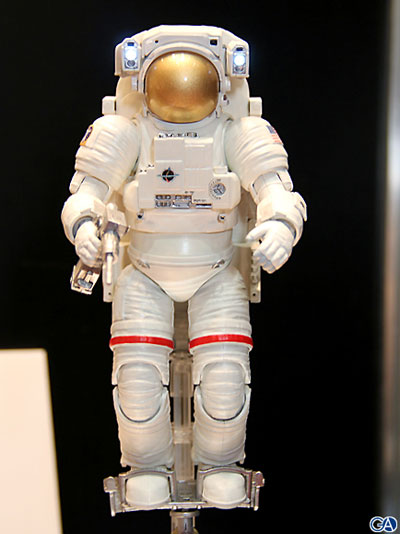 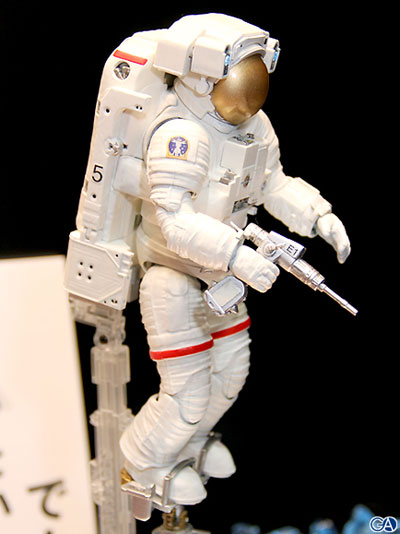
|
garymilgrom
Member Posts: 1966
From: Atlanta, GA
Registered: Feb 2007
|
posted 06-27-2011 10:44 AM
Nice model. Can a 1/10 Canadarm be far behind? |
alexbaja
Member Posts: 448
From: Naxxar, Malta
Registered: Dec 2010
|
posted 06-27-2011 11:31 AM
Very nice model, pity the visor isn't gold mirror finish. |
cspg
Member Posts: 6210
From: Geneva, Switzerland
Registered: May 2006
|
posted 06-27-2011 03:01 PM
Had it been gold, my purse would have hated you.  |
flyXwire
New Member Posts: 2
From: El Dorado Hills, Ca, USA
Registered: Jul 2011
|
posted 07-04-2011 11:34 PM
It is a very nice model, though I would've preferred it in 1/6th scale. |
Constellation One
Member Posts: 119
From: Lorain, Ohio, USA
Registered: Aug 2008
|
posted 08-05-2011 02:45 PM
So any preliminary thoughts on this?As mentioned on other sites, it appears bulky. But, from the different angles I think it will pass. Editor's note: Threads merged.
|
apolloprojeckt
Member Posts: 1447
From: Arnhem, Netherlands
Registered: Feb 2009
|
posted 09-22-2011 03:26 PM
I saw the first one now on eBay for $89, I will wait on the regular price of $70 and a filler tube for filling the holes in the legs and arms. |
sts205cdr
Member Posts: 649
From: Sacramento, CA
Registered: Jun 2001
|
posted 09-22-2011 04:25 PM
Didn't Soichi Noguchi's suit have the red stripes? |
alexbaja
Member Posts: 448
From: Naxxar, Malta
Registered: Dec 2010
|
posted 09-24-2011 02:31 AM
quote:
Originally posted by alexbaja:
Very nice model, pity the visor isn't gold mirror finish.
I think our prayers have been heard. The visor seems to have been made in mirror finish.I have ordered mine from Hobby Link Japan. 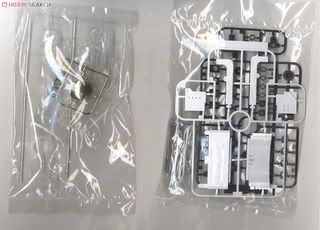 |
MOL
Member Posts: 98
From: Los Angeles, CA
Registered: Oct 2004
|
posted 10-03-2011 07:28 AM
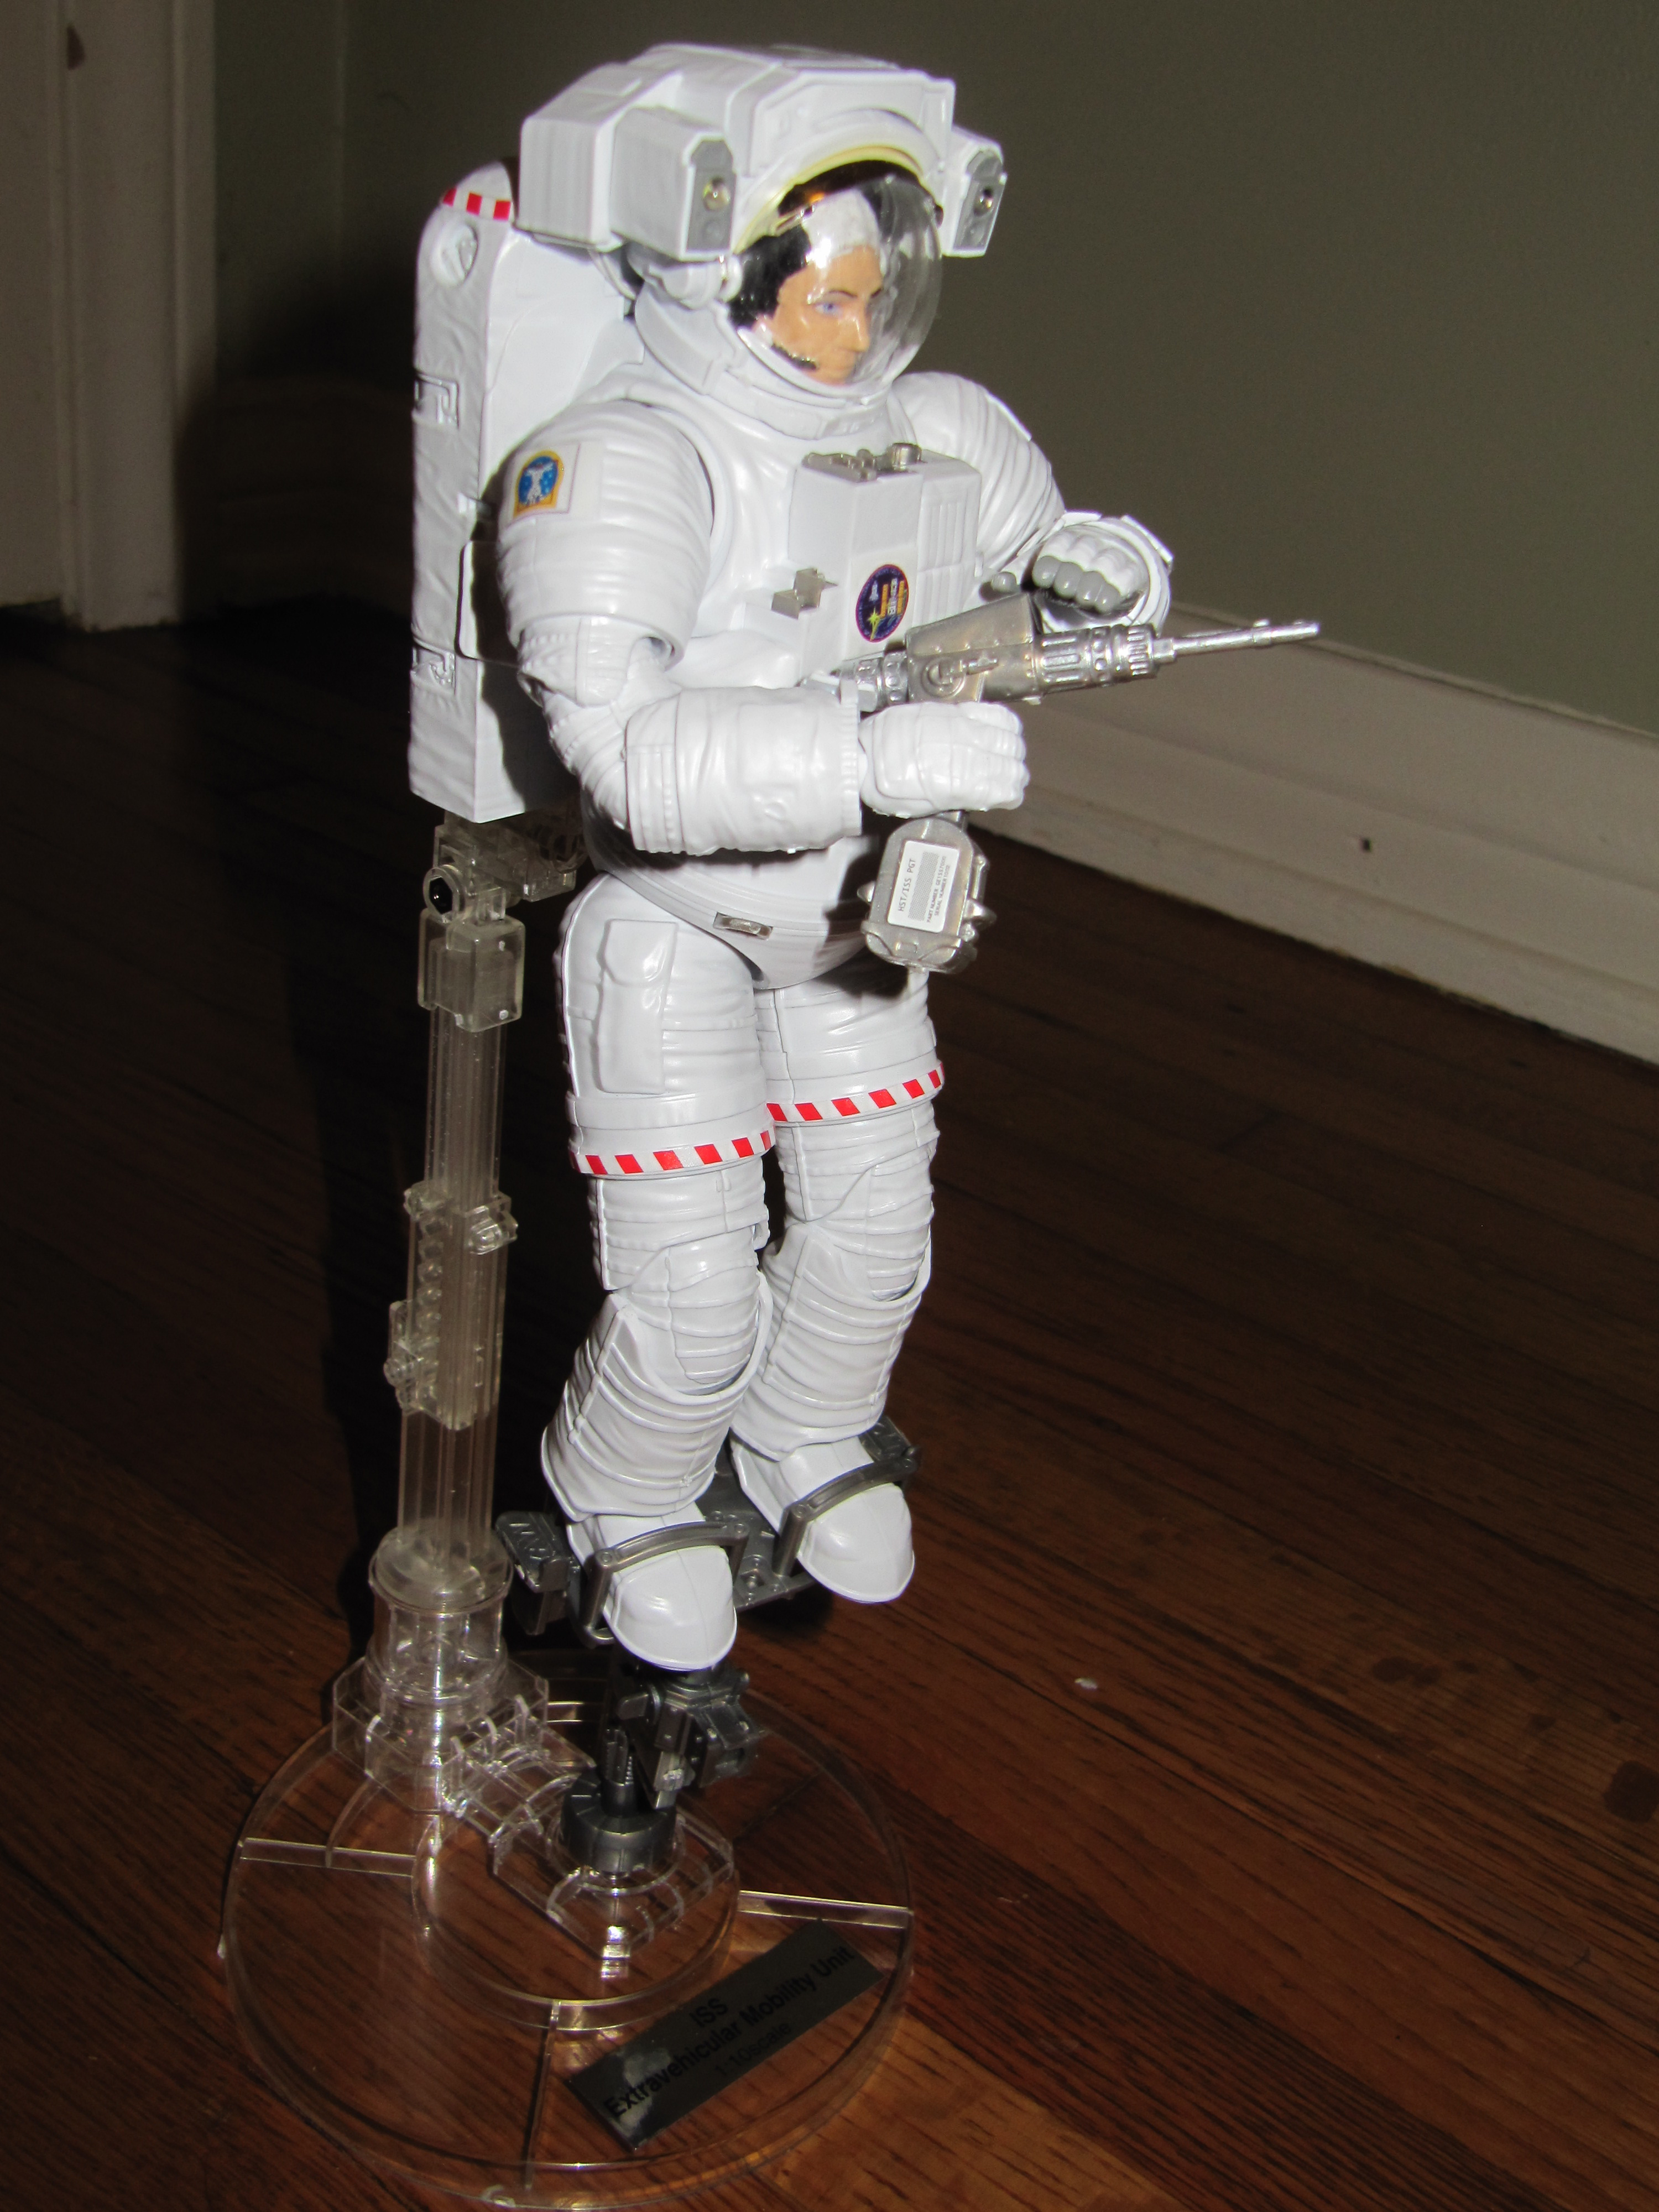
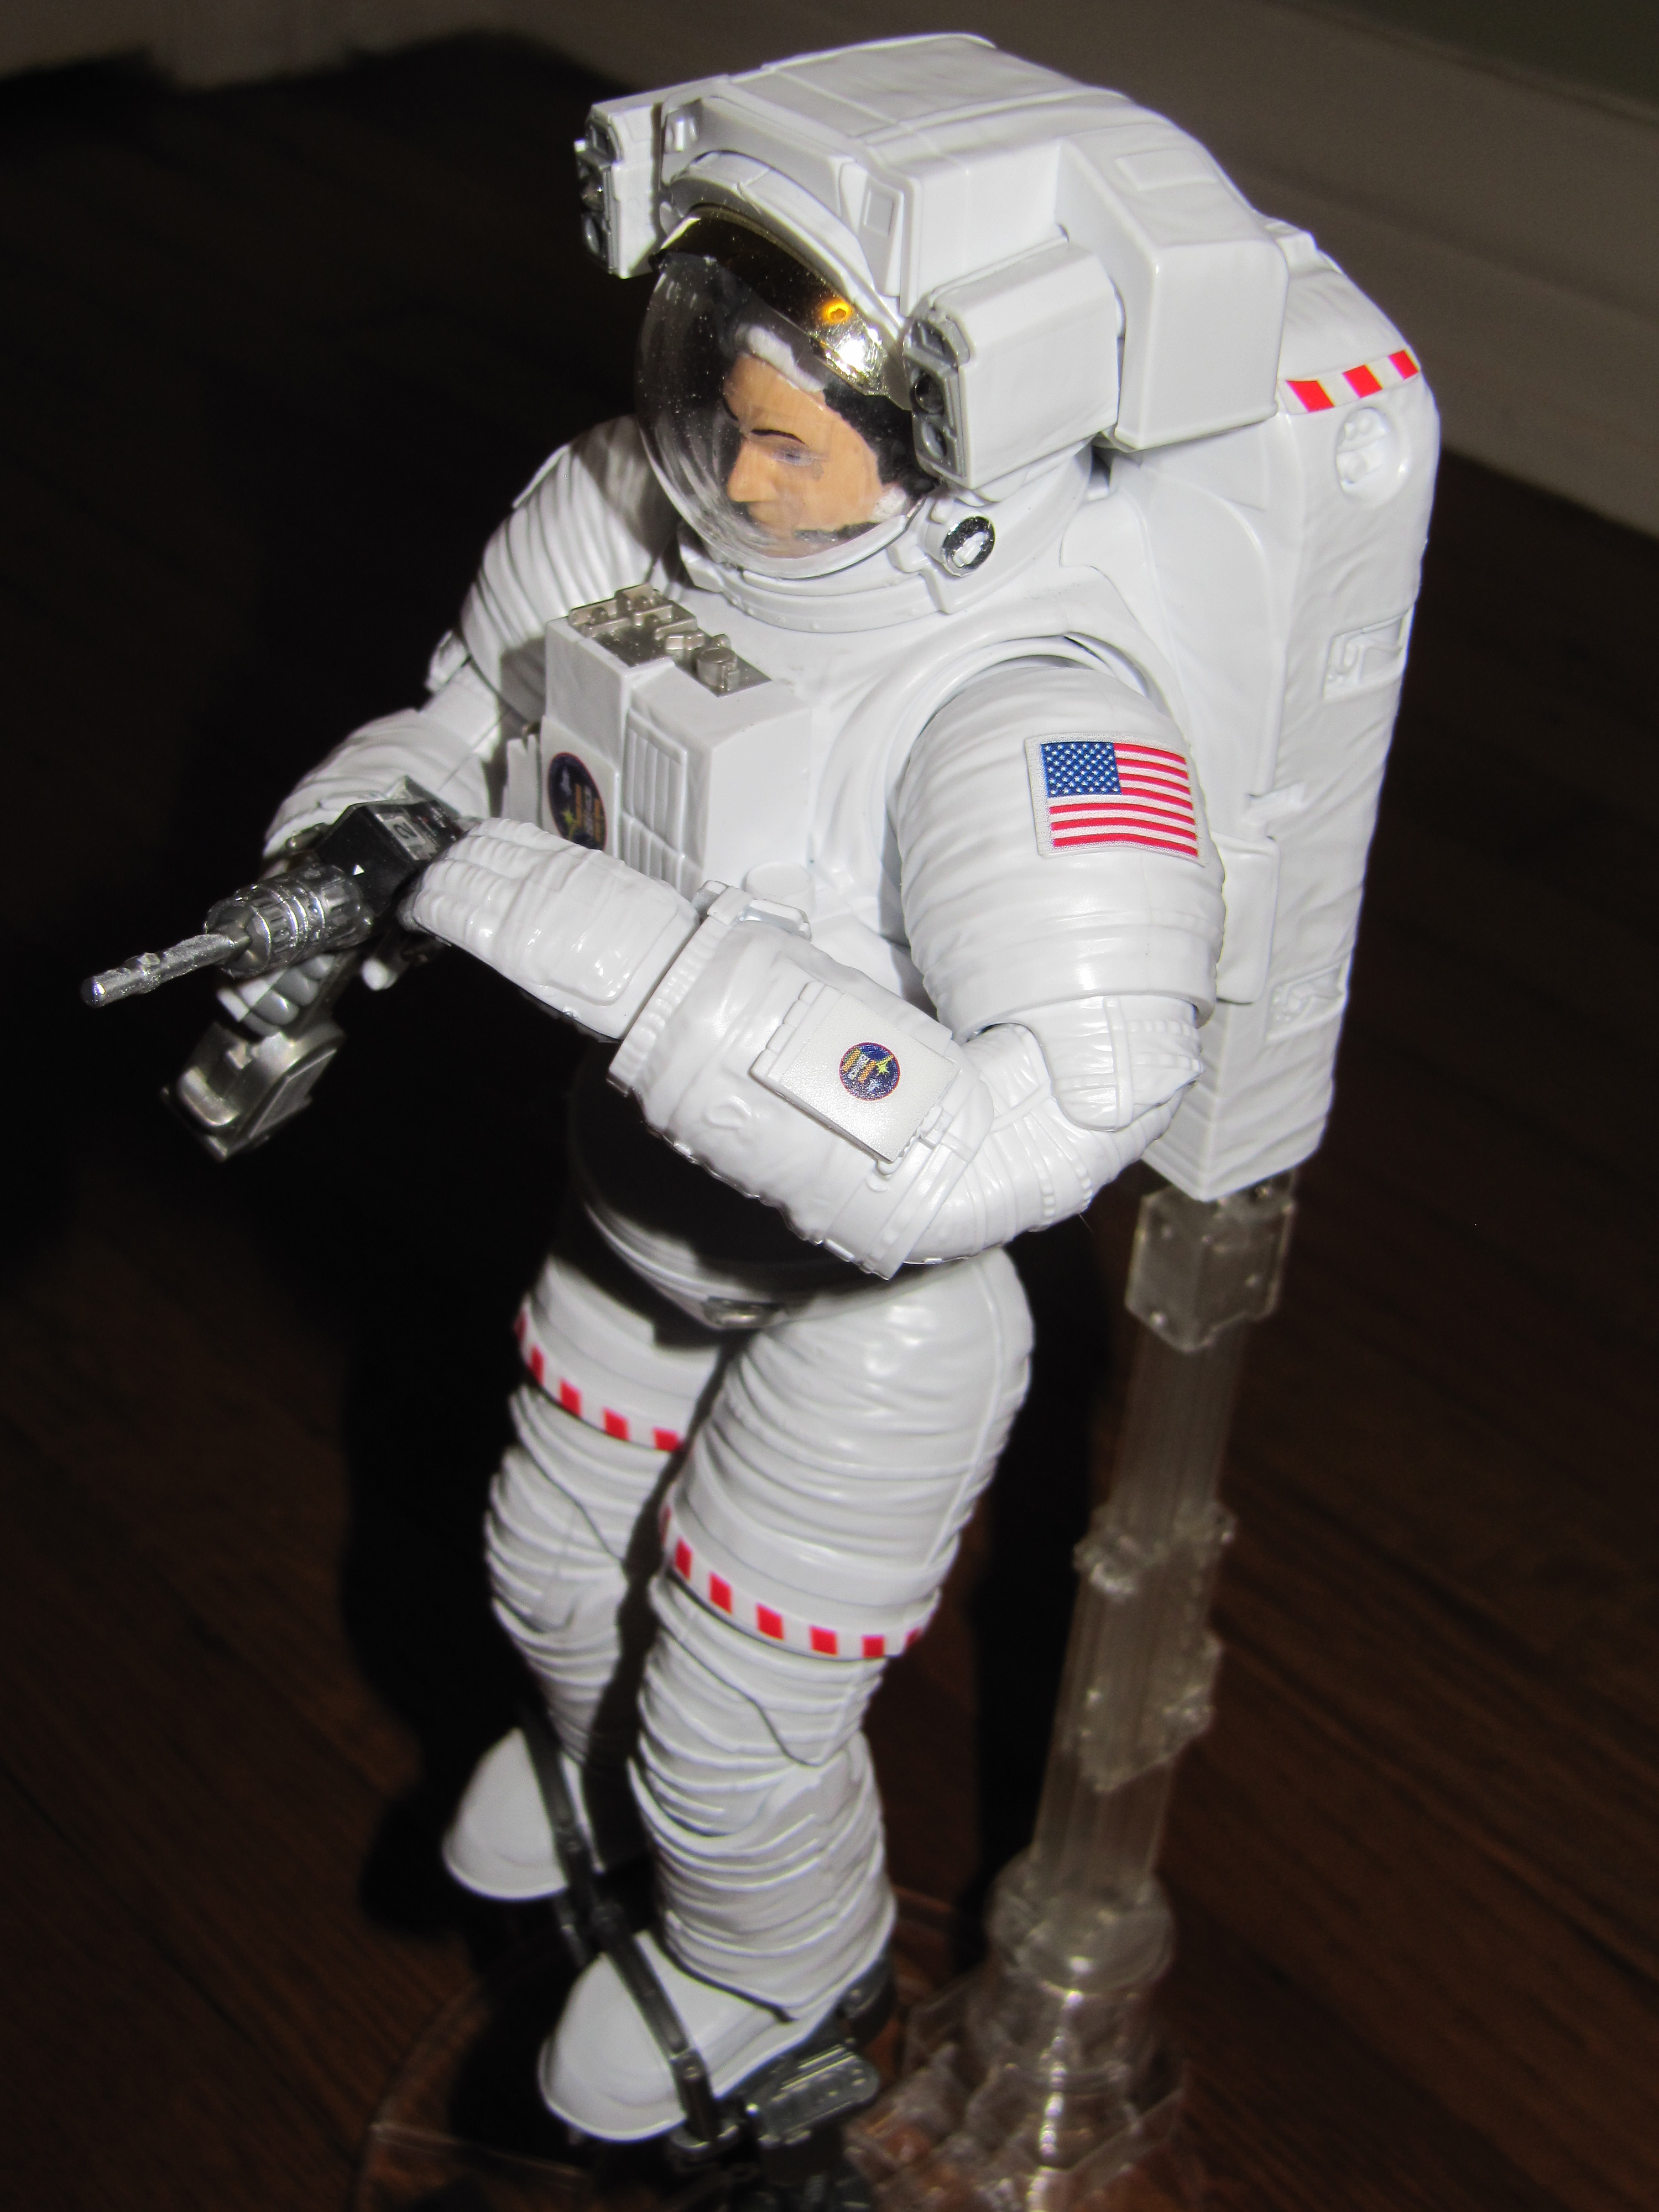
I received this kit last week after ordering it from HobbyLink Japan. With shipping, it came to about $75.I put the kit together over the weekend - it took a total of about six hours. The nice thing is no glue is required, and very little painting, mainly the snoopy cap and the PGT. There are markings on the decal sheet for several different missions, but I decided to make mine Claude Nicollier from STS-103. There are optional parts for the SAFER, but since this was a Hubble Space Telescope mission, the EVA astronauts did not wear a SAFER since they were confined to the payload bay. It is really a great model, and well worth the money! 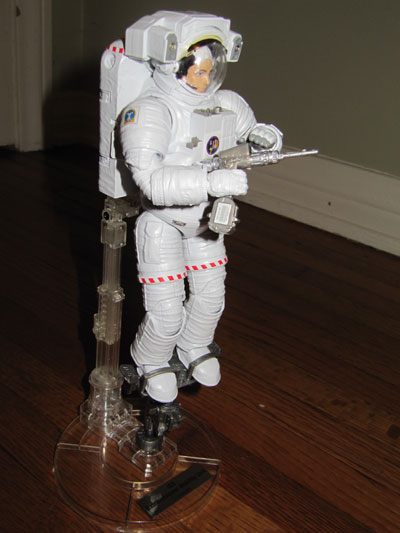 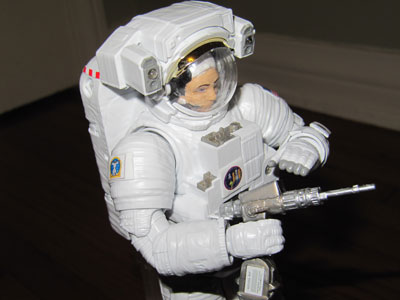

|
MOL
Member Posts: 98
From: Los Angeles, CA
Registered: Oct 2004
|
posted 10-03-2011 07:31 AM
|
alexbaja
Member Posts: 448
From: Naxxar, Malta
Registered: Dec 2010
|
posted 10-03-2011 09:49 AM
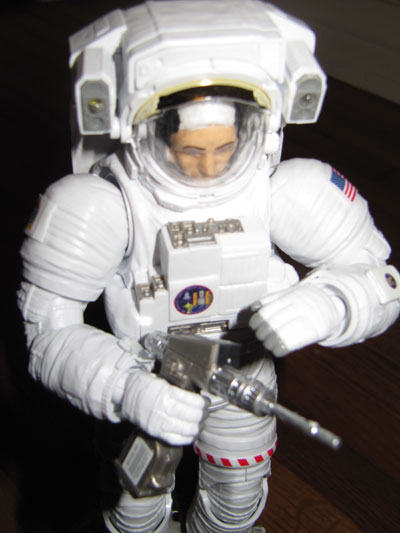
I have just picked up mine a couple of hours ago. It cost me 81 Euros in all, VAT included. It looks great just like MOL said. I particularly like the visor in gold mirror finish. It should look great near my Bandai Endeavour Shuttle.  |
Philip
Member Posts: 5952
From: Brussels, Belgium
Registered: Jan 2001
|
posted 10-03-2011 11:18 AM
Snap together or is there any glue needed? |
alexbaja
Member Posts: 448
From: Naxxar, Malta
Registered: Dec 2010
|
posted 10-03-2011 11:31 AM
quote:
Originally posted by Philip:
Snap together or is there any glue needed?
It is a snap together kit, no glue needed, as pictured here. |
apolloprojeckt
Member Posts: 1447
From: Arnhem, Netherlands
Registered: Feb 2009
|
posted 10-05-2011 12:45 PM
I got today my kit, five hours work and it was done. I have make a extra nice base and the picture is complete. Does not astronaut Dale Gardner holds up for sale sign but a Bandai astronaut in EVA with sign Sold! See more photos here.  
|
alexbaja
Member Posts: 448
From: Naxxar, Malta
Registered: Dec 2010
|
posted 10-05-2011 01:53 PM
Very well done Pascal. I am sure that this is one of your quickest assembly. How did you manage to do the base that fast?Good luck with your work, I always find pleasure looking at your models. |
apolloprojeckt
Member Posts: 1447
From: Arnhem, Netherlands
Registered: Feb 2009
|
posted 10-05-2011 02:48 PM
Thanks alexbaja. The base is not difficult, a nice piece of tropical wood and some paint and details, and it give this model more stability, but the next one I will fill up the gap's between arm and legs, hands, for a more realer look . |
alexbaja
Member Posts: 448
From: Naxxar, Malta
Registered: Dec 2010
|
posted 10-05-2011 02:59 PM
My pleasure, that is a good idea filling the joints, but the model would have to be made in a fixed position. It would be nice to make a diorama with parts of a shuttle or maybe a Canadarm etc. |
apolloprojeckt
Member Posts: 1447
From: Arnhem, Netherlands
Registered: Feb 2009
|
posted 10-05-2011 03:28 PM
Yep, you can all directions on now, two astronauts working on selfmade hardware, etc. etc. |
GACspaceguy
Member Posts: 2474
From: Guyton, GA
Registered: Jan 2006
|
posted 10-05-2011 06:43 PM
Great work, I really like the stand! |
K2Pete
Member Posts: 29
From: near Niagara Falls
Registered: May 2011
|
posted 10-06-2011 03:25 AM
That mirrored visor looks superb! I'm so glad they decided to use that one.And have you considered using a flexible material over the joints to conceal the joints while allowing them to be adjusted? It would be shame to have to glue and fill all the joints. Thanx for the pix! |
bdipaolo
Member Posts: 89
From:
Registered: Oct 2010
|
posted 12-08-2016 03:19 PM
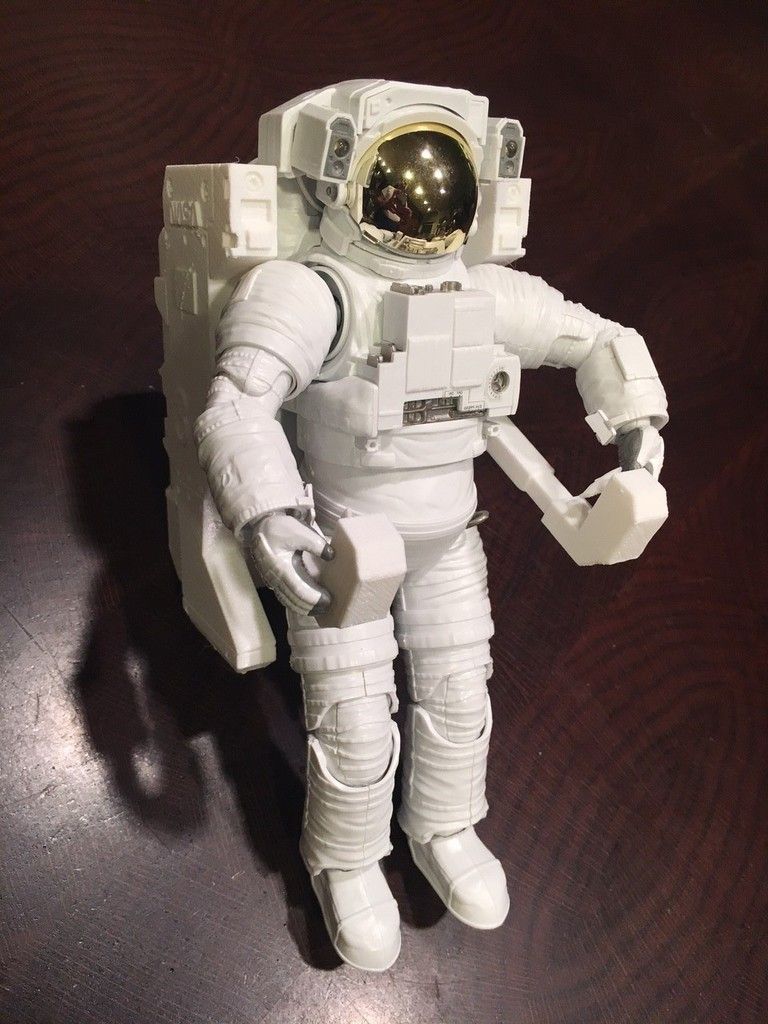
I downloaded from Thingiverse (courtesy of Max Grueter), scaled to 1:10 and 3D printed at home a Manned Maneuvering Unit (MMU) circa 1984 to fit the Bandai figure. The astronaut's arms are a bit too long for the MMU's arms, but otherwise it fits great. I suspect that has to do with the way his arms are jointed. 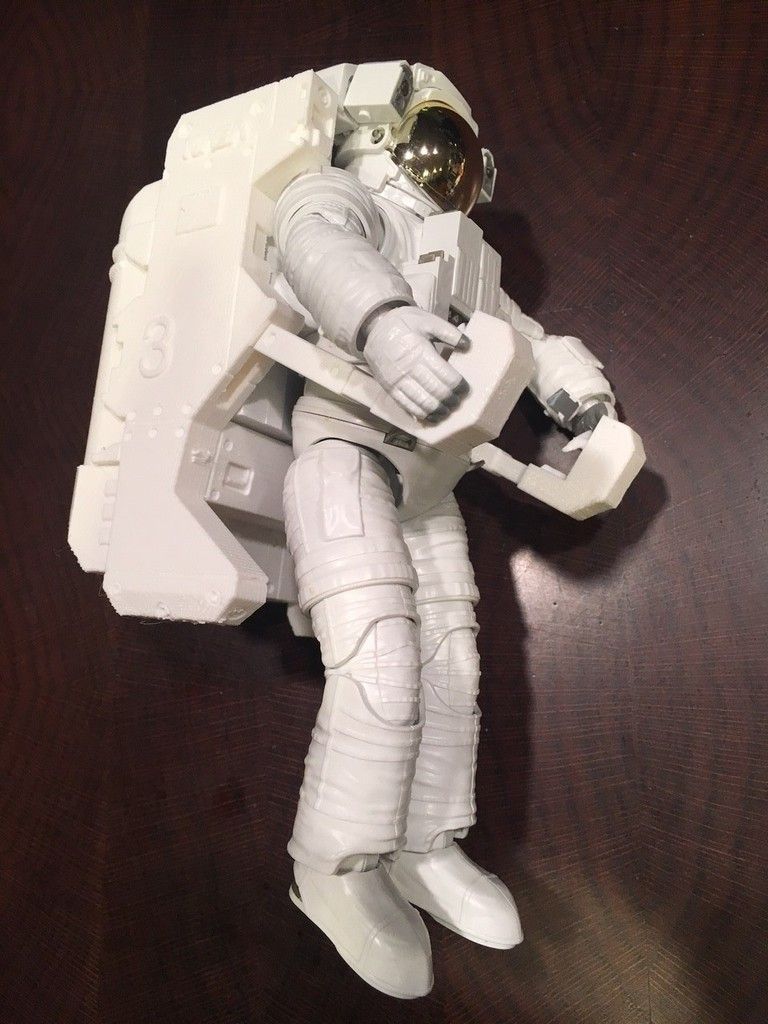 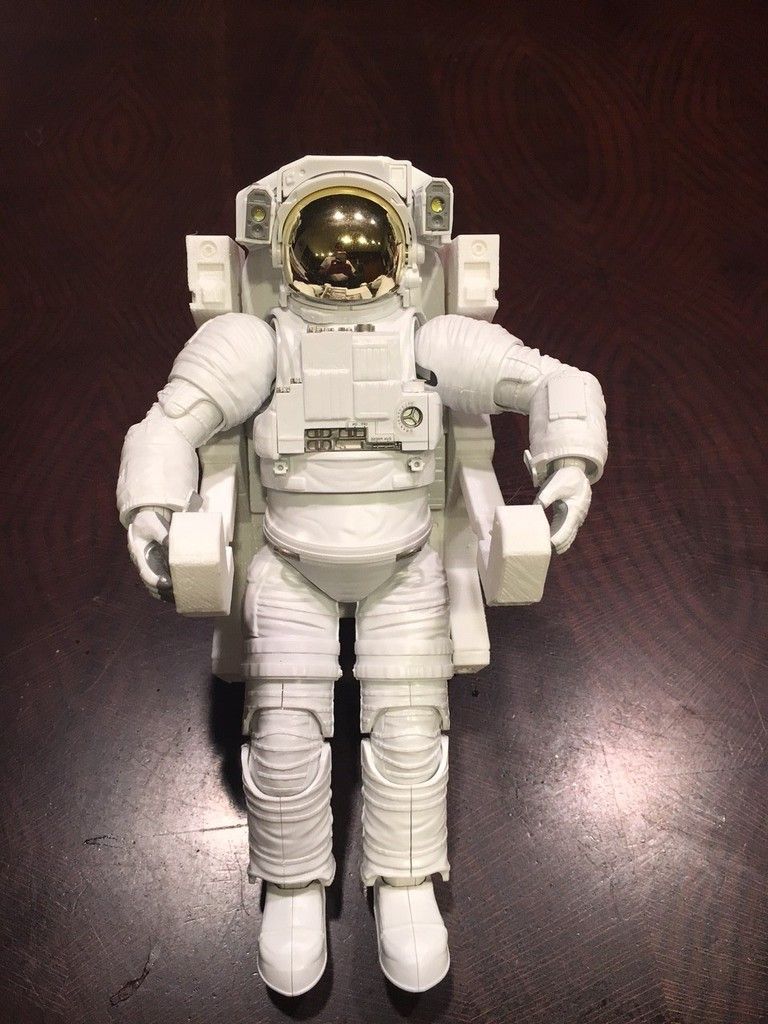
|
Ronpur
Member Posts: 1211
From: Brandon, Fl
Registered: May 2012
|
posted 12-08-2016 07:01 PM
I am really surprised Bandai has not released the kit with an MMU. That is a great model. |
bdipaolo
Member Posts: 89
From:
Registered: Oct 2010
|
posted 12-08-2016 09:22 PM
Thanks. Well that shows the power of 3D printing. We don't have to wait for Bandai to do it. We can have whatever creative individuals will decide to do. |
jonspace
Member Posts: 169
From:
Registered: Jan 2014
|
posted 12-08-2016 09:47 PM
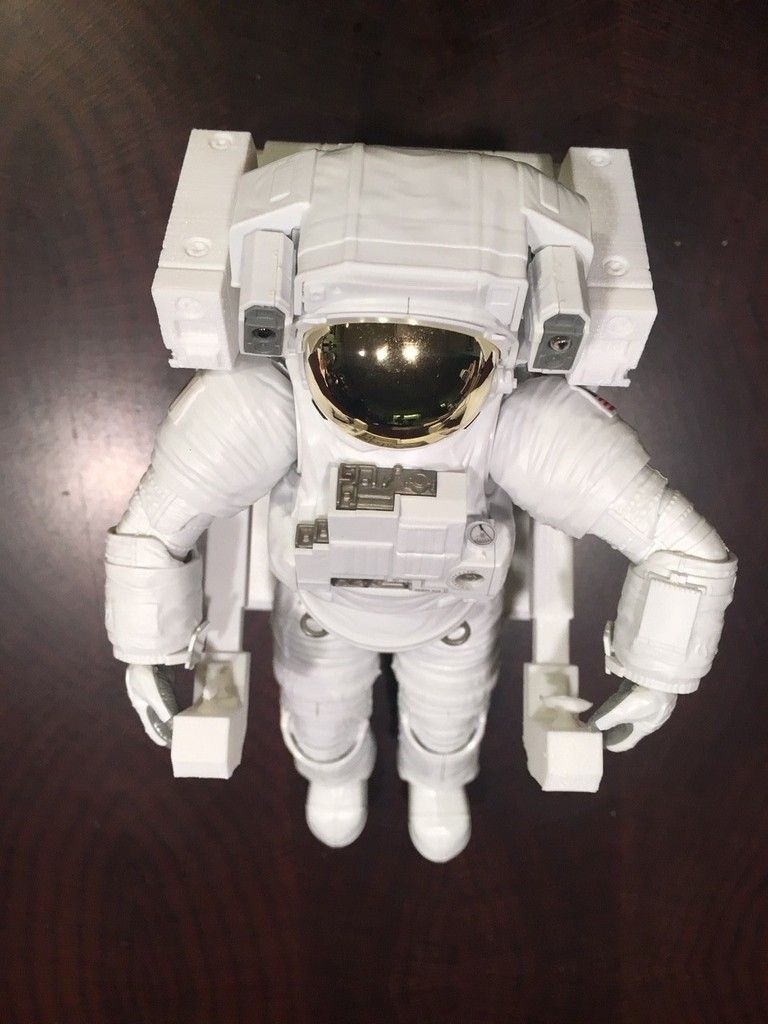
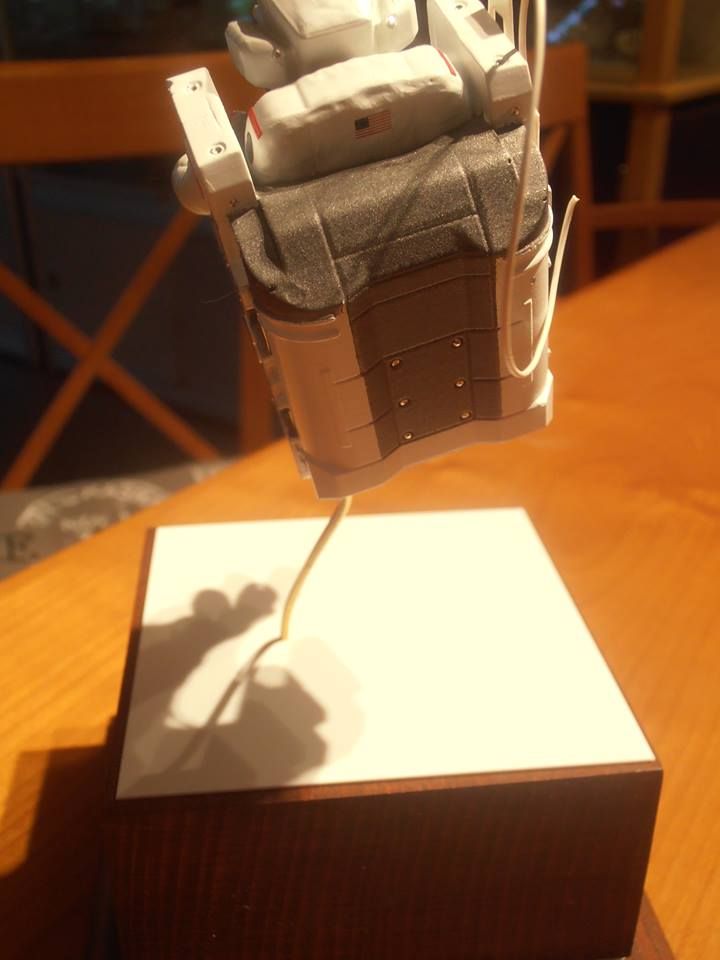
That's great! What does the back of the 3D-printed MMU look like? |
Norman.King
Member Posts: 375
From: Herne Bay, Kent, UK
Registered: Feb 2010
|
posted 12-10-2016 01:00 PM
I'm in the process of building/painting this 3D figure.I downloaded this superb 3D .stl file from thingiverse.com and using Cura software that was supplied with my 3D printer I re-scaled it to 120mm to match the other astronauts in my collection.  First job was to 3D print the model on my Wanhao Duplicator 6 printer. This was done in two parts, first the astronaut and then the MMU and because I wanted the best quality possible each part took about 25 hours to print.  
Even though the printer is on highest quality you can still see the horizontal line structure caused by the 3D printing process (the visor clearly shows this).  Here I've applied a coat of Mr Surfacer 1000 and started to lightly sand it back. I'm hopeful that a couple more coats/sandings will remove most of the horizontal lines (the visor is already pretty good).  |
bdipaolo
Member Posts: 89
From:
Registered: Oct 2010
|
posted 12-12-2016 03:47 PM
Nice job Norman. When liquid resin or powder-based 3D printers become affordable for home use, the visible layers will largely disappear. Jonspace asked about the back of the MMU — you beat me to it. Here's mine. The close-ups show I need to do a little sanding on the edges, but I still think for the price (only pennies worth of plastic and electricity) it's pretty neat. I did the astronaut figure and MMU also at a smaller scale. 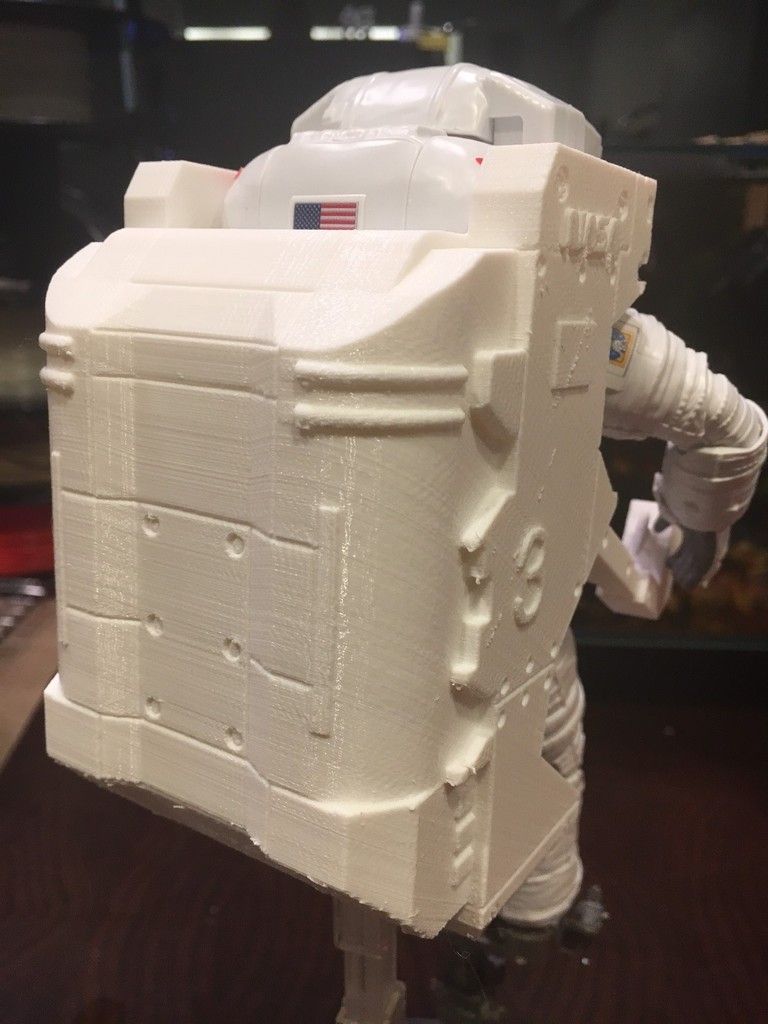 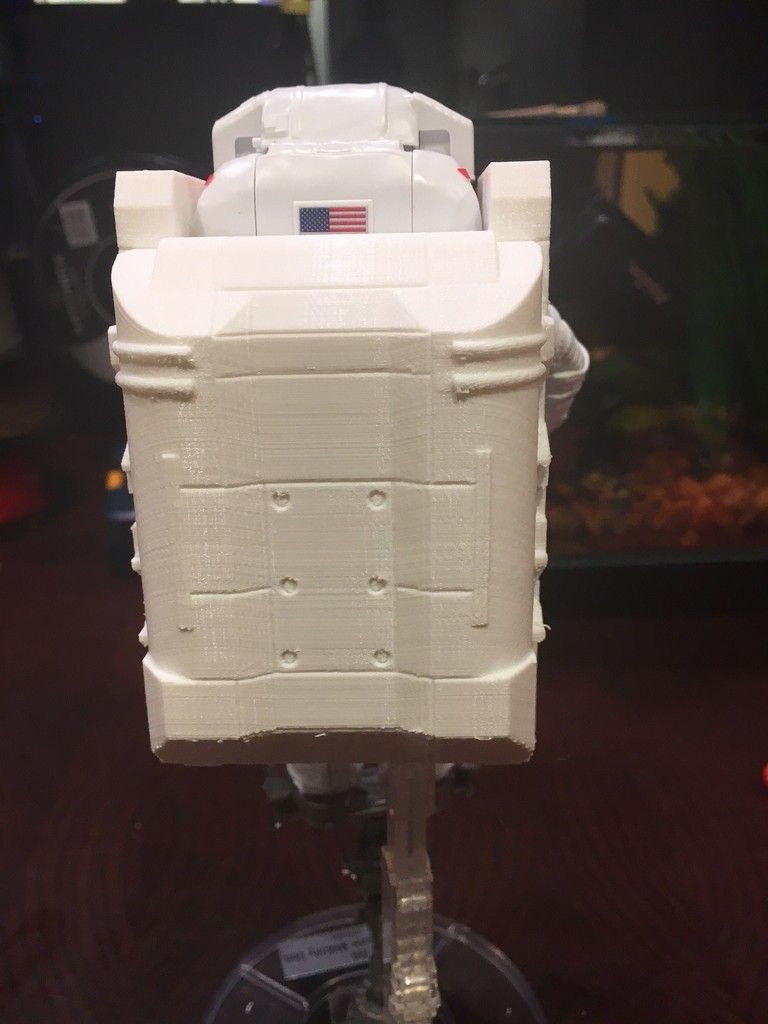
|
Norman.King
Member Posts: 375
From: Herne Bay, Kent, UK
Registered: Feb 2010
|
posted 12-14-2016 11:20 AM
quote:
Originally posted by bdipaolo:
When liquid resin or powder-based 3D printers become affordable for home use, the visible layers will largely disappear.
Try using Mr. Surfacer. Look at the visor on my model prior to to applying it, you can clearly see the layers, but after just one application and a light sanding the layers have disappeared.Mr. Surfacer is a micro-filler primer and may take a few applications (sanding gently in between) but worth the effort. |
bdipaolo
Member Posts: 89
From:
Registered: Oct 2010
|
posted 12-16-2016 05:28 PM
Thanks, Norman. I will give it a try. By I still want my liquid resin printer! It's like magic watching solid objects rise from a tray of liquid. Santa, are you listening?Also, acetone will have a smoothing effect on PLA plastic. |
apolloprojeckt
Member Posts: 1447
From: Arnhem, Netherlands
Registered: Feb 2009
|
posted 12-16-2016 06:03 PM
My 1/16 was print with a 3D laser guide home printer "fablab," top result.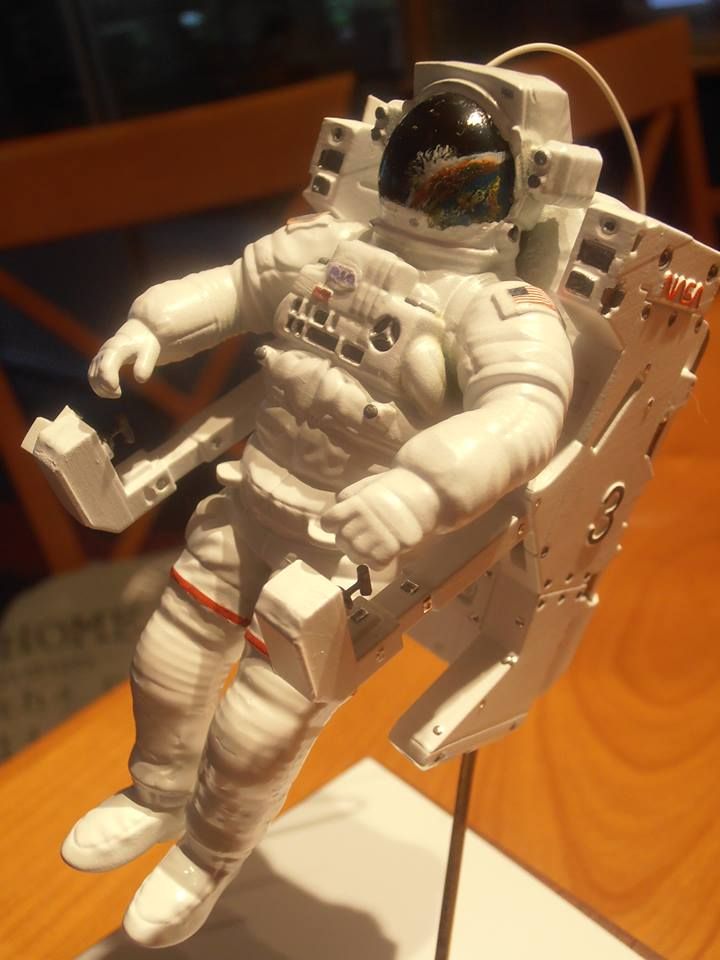 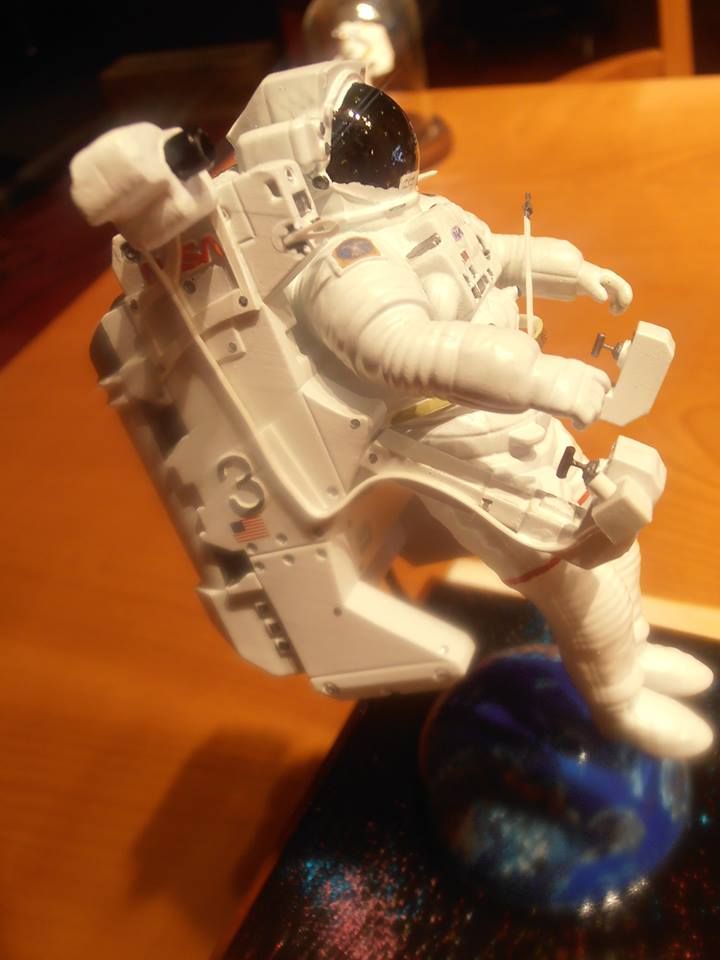
|