posted 07-27-2021 08:25 PM


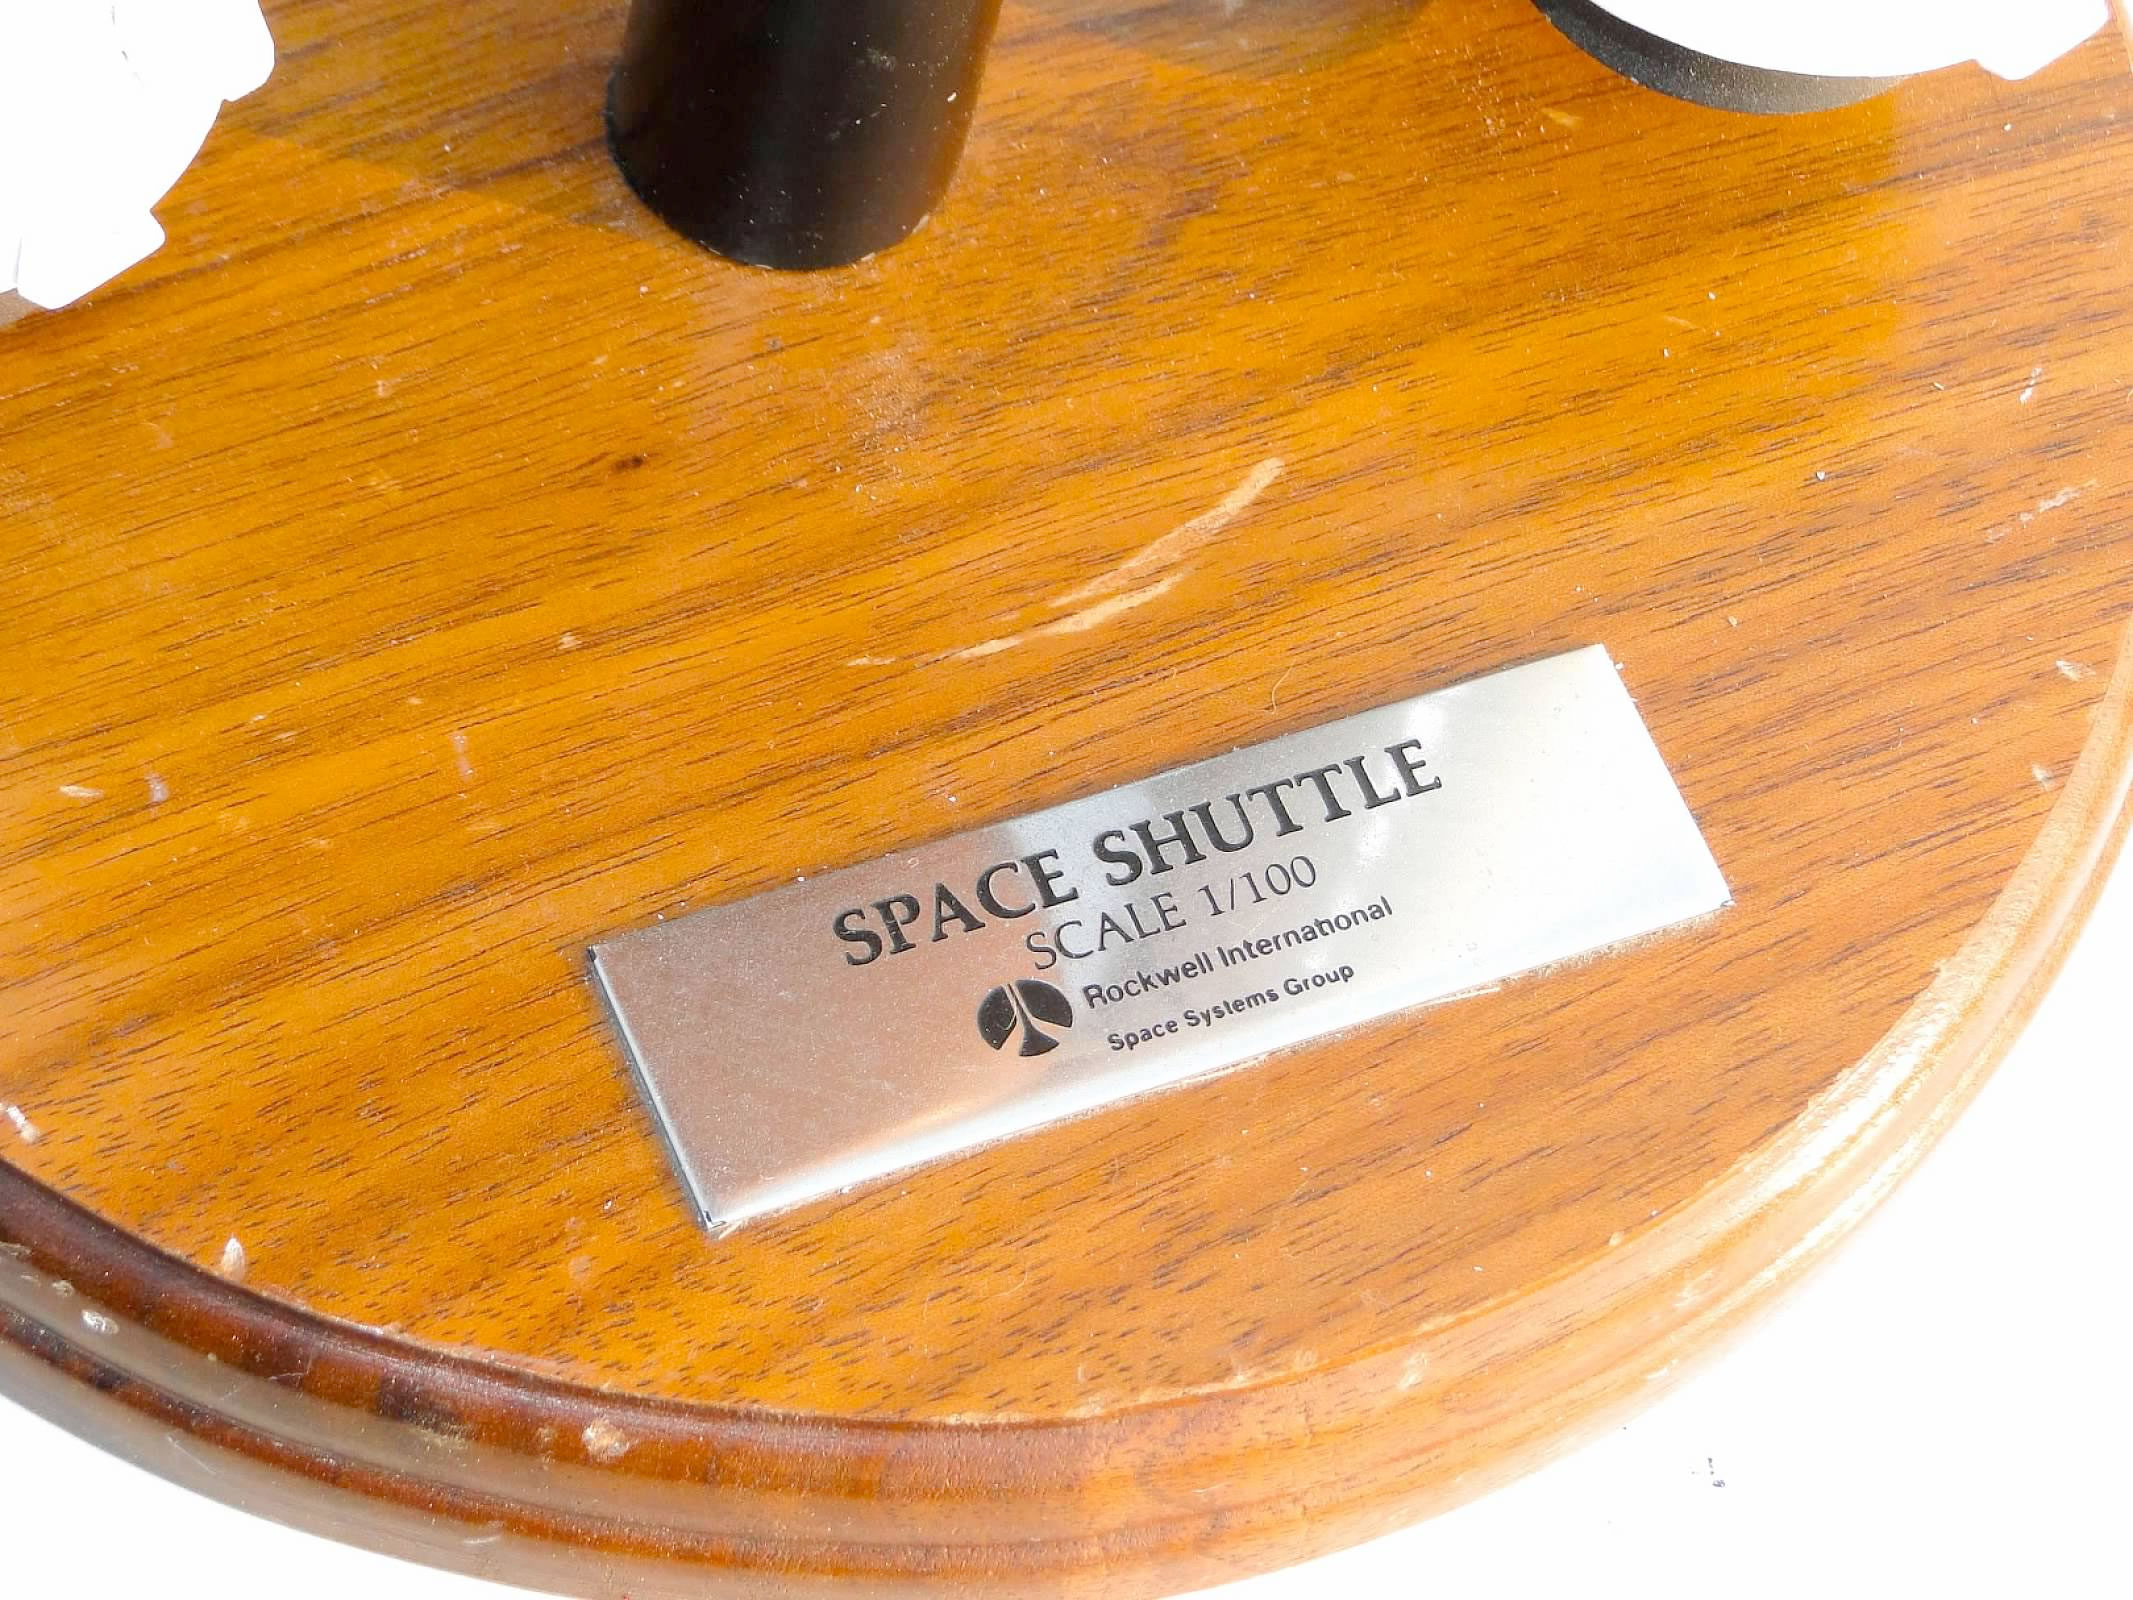
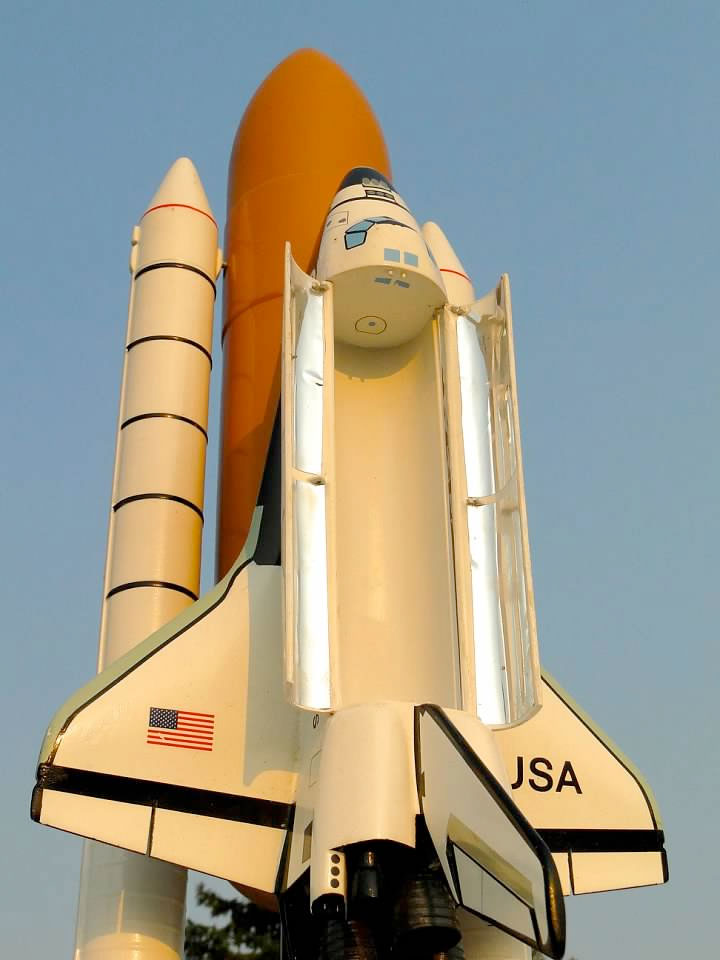
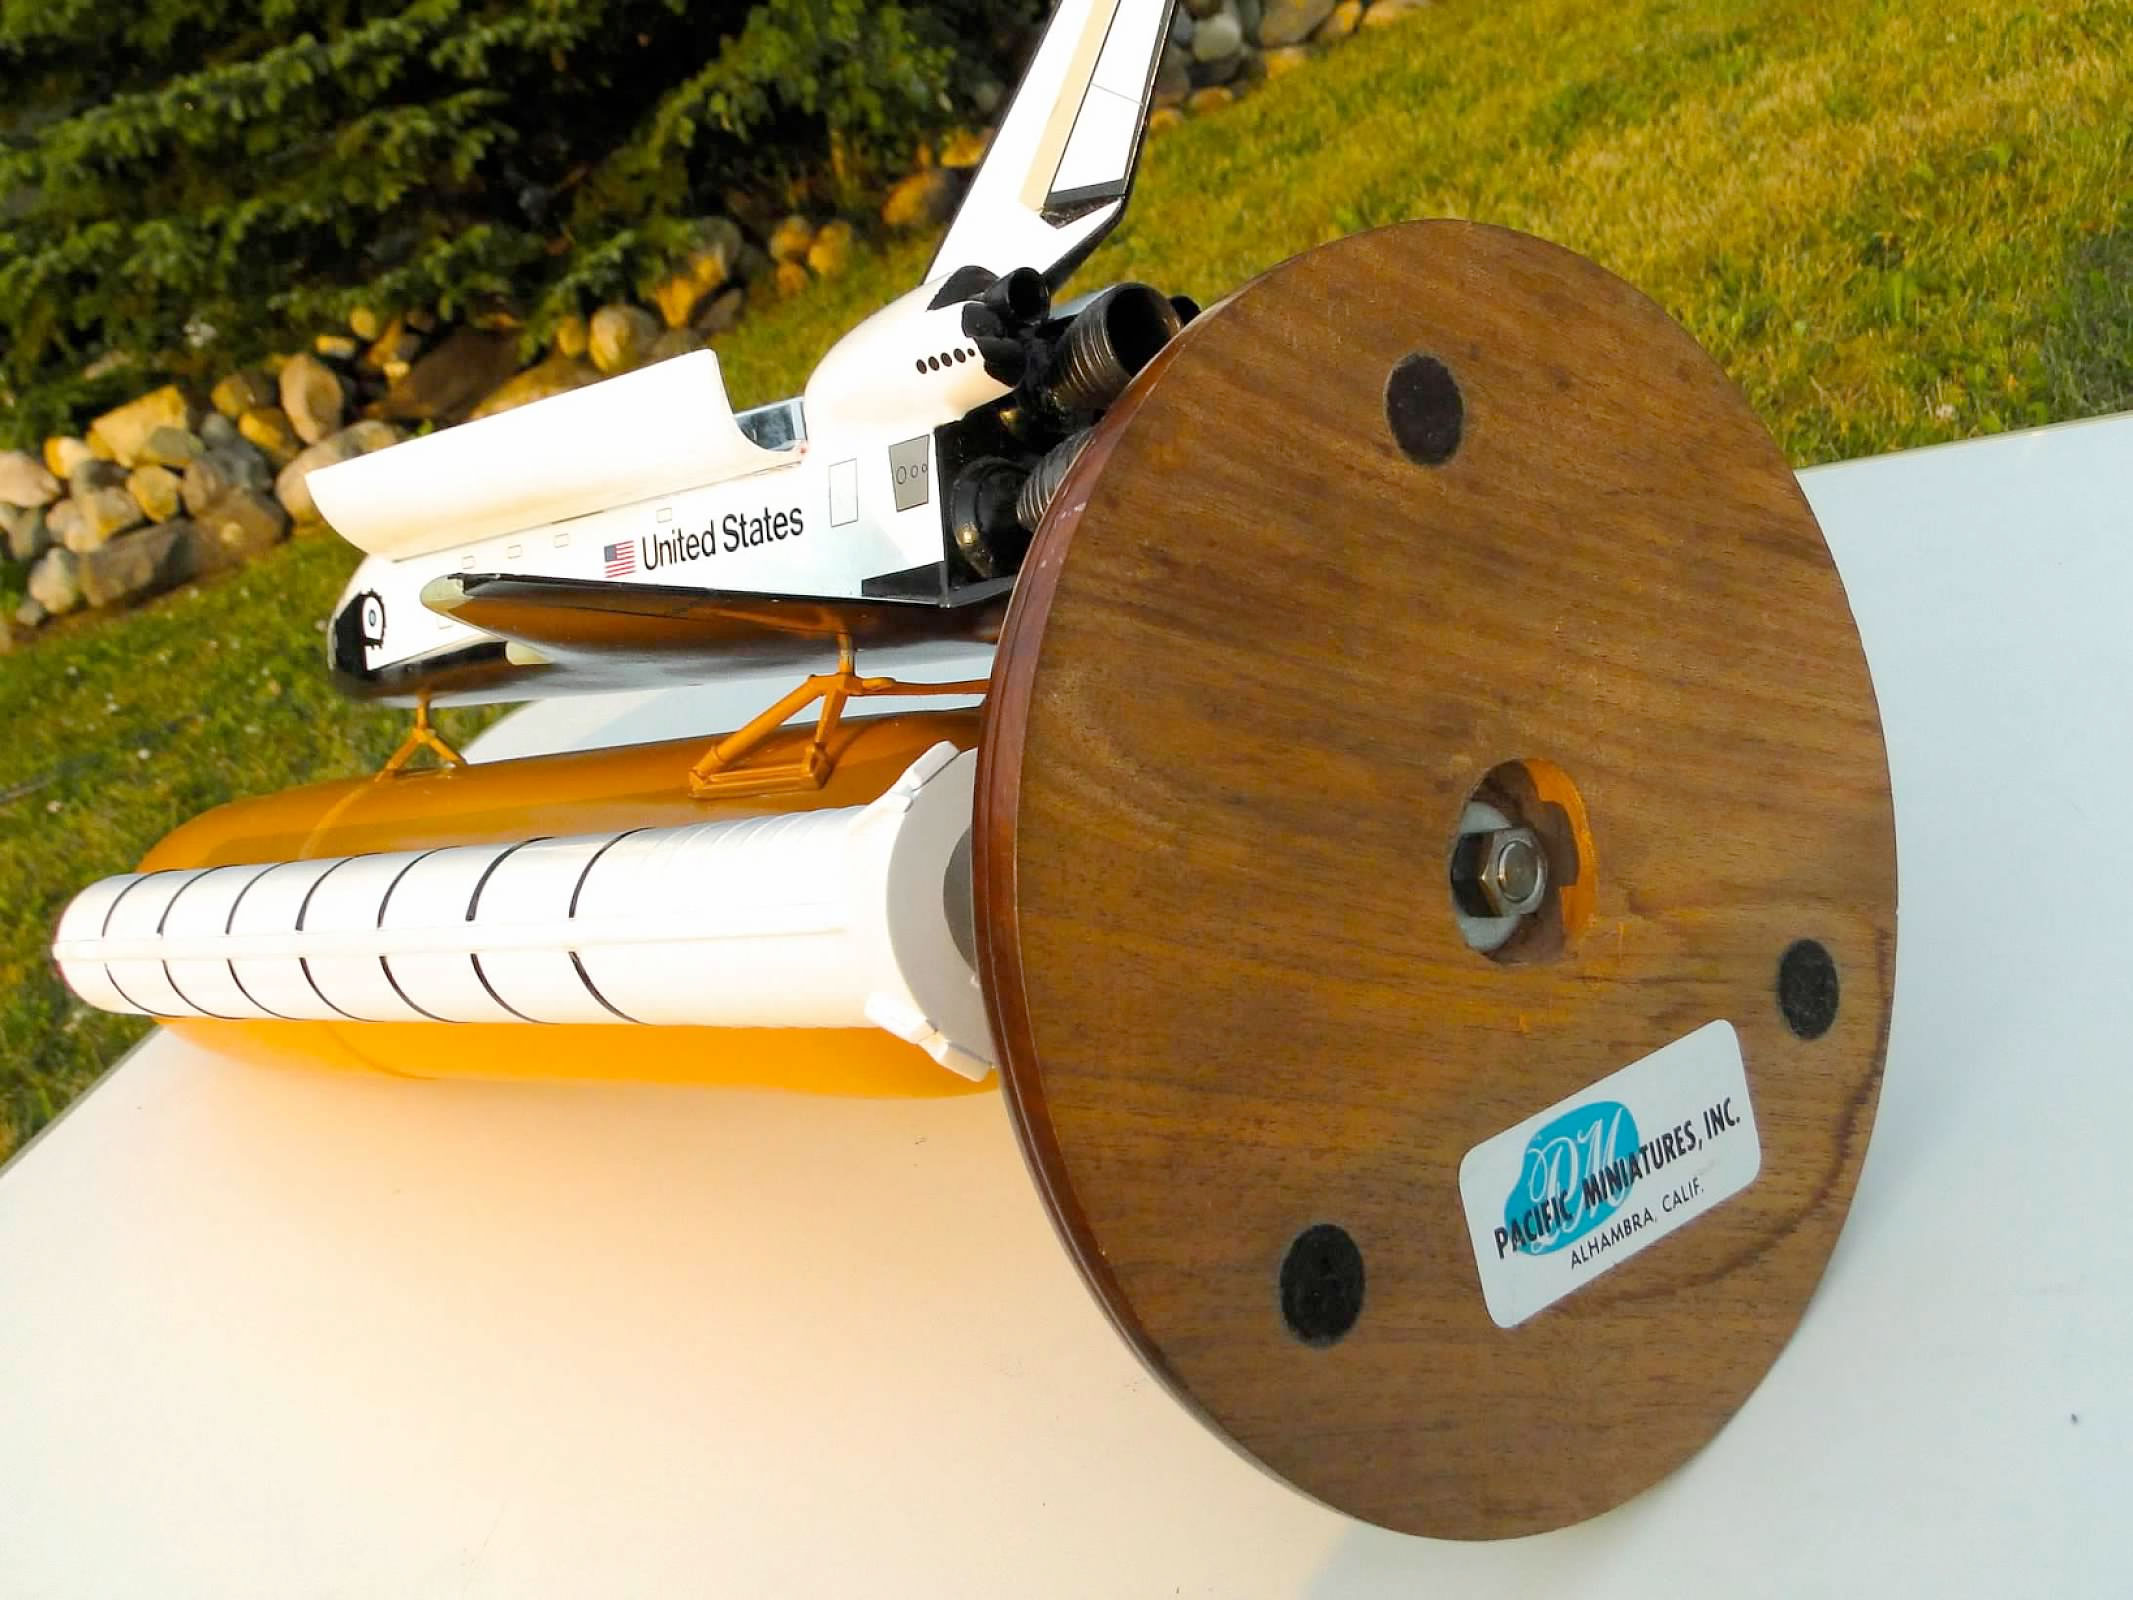
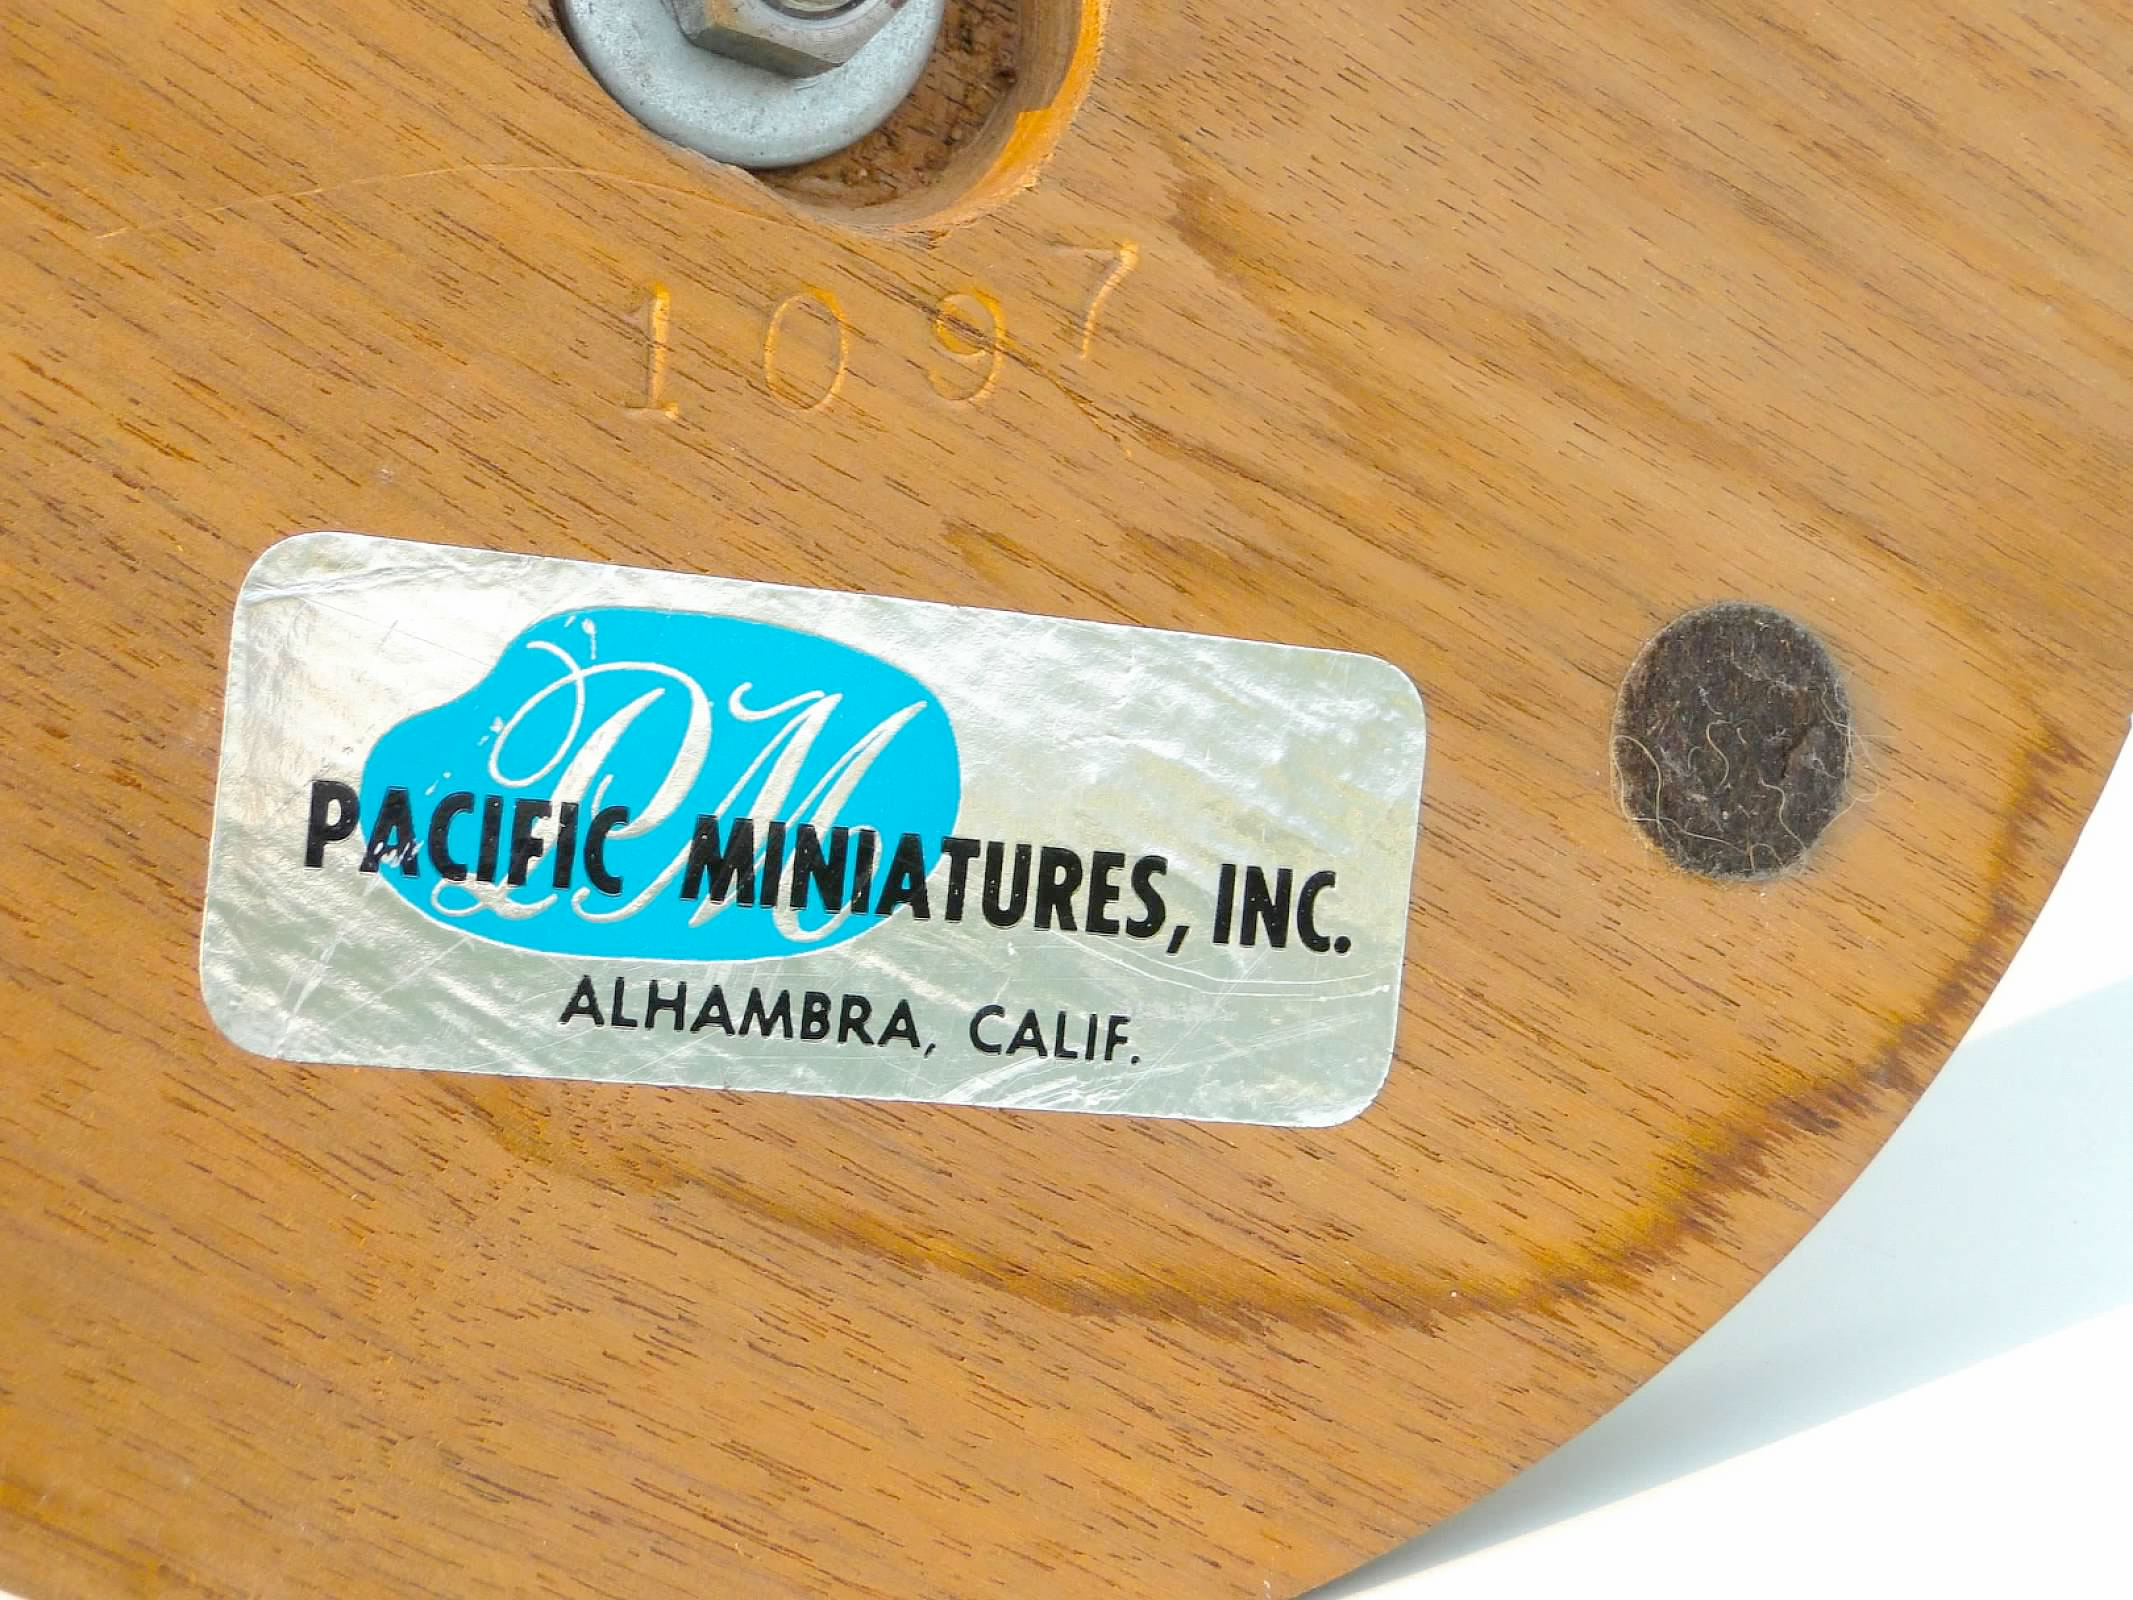
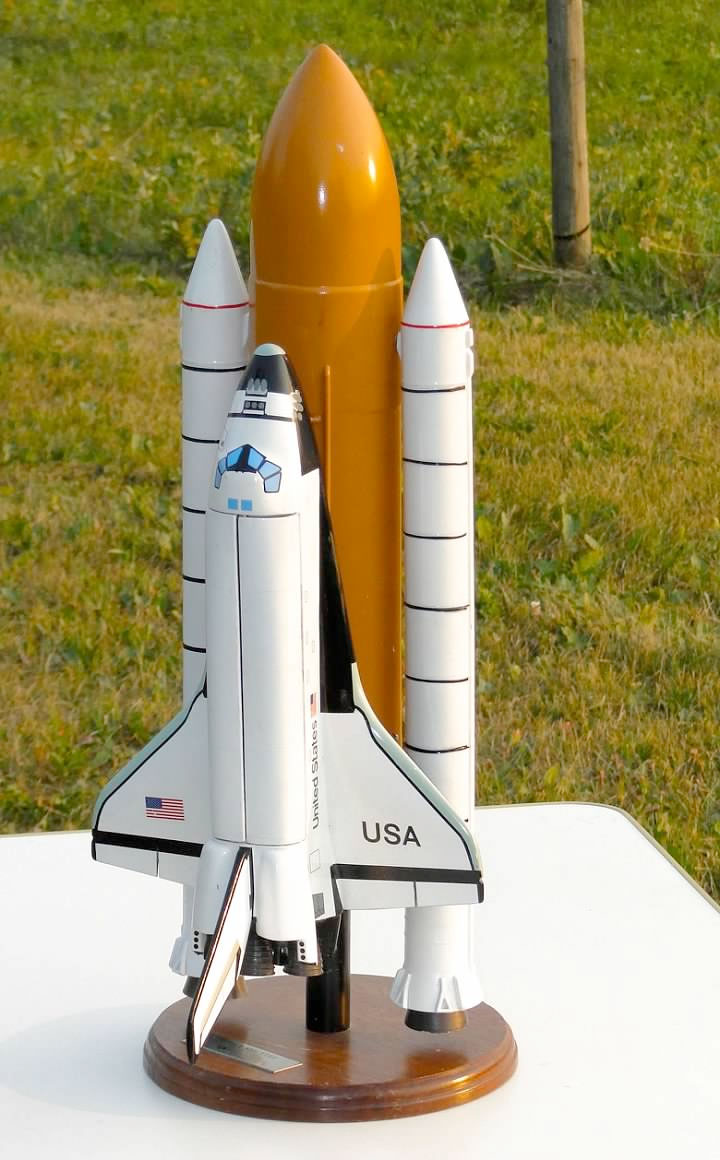
I acquired this old original numbered Pacific Miniatures 1:100 scale Space Shuttle model back in 2019 BC (before COVID). It was in rough shape with both solid boosters broken into three pieces each and missing the lower pylons to the main fuel tank. The shuttle's main cargo doors were both broken off the fuselage and were permanently glued over the cargo bay. The wire hinges were broken off inside the body of the shuttle. It was such a nice old and difficult to find vintage model that I decided to tackle a restoration. The bones were all there, but they needed mending. Now I am not a model maker, however I have found enjoyment in repairing and fixing models over the years. I'm not all that skilled, but I enjoy the hobby and eventually am gaining more confidence.
After many hours I was able to remove the cargo bay doors and found the inside hinge attach points shattered on the inside of the doors. The rear hinge attach points enter the shuttle by the main engine cowlings and were broken off inside in such a manner that the only way to remove the broken wire hinges was to Dremel out the hinge points like a dentist very slowly removing decay in a tooth.
I didn't want to disturb too much of the fuselage as I had no intention of repainting this model. I wanted to preserve the original paint and decals. After a couple of days I had the old wires out but some pretty significant holes. From there I fashioned new wire friction hinges similar to the originals, but not quite. The originals used a formed shape to snap into the body and maintain tension on the doors. Because of the holes I created, I had to go with a straight in pin like hinge similar to the way the hinges went into the cargo bay doors.
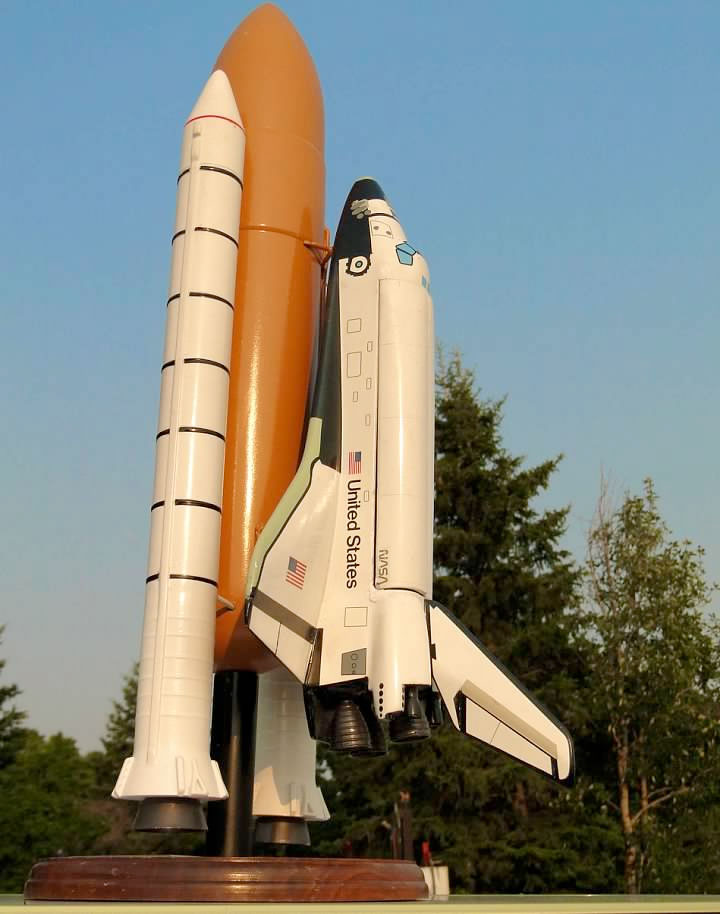
The doors were a challenge as the plastic around the hinge pins were all broken. I had to build up these areas with a resin epoxy. It took a couple of attempts before getting them to hold. I would say these are the areas I am most concerned with holding over time. I try not to cycle the doors too often for that reason. Installing the doors was a challenge as I had to place the doors into place and resin epoxy around the hinge and clamp the shuttle and doors in place for 48 hours each door for the resin to cure. One door was slightly too high which you can see when they are closed.
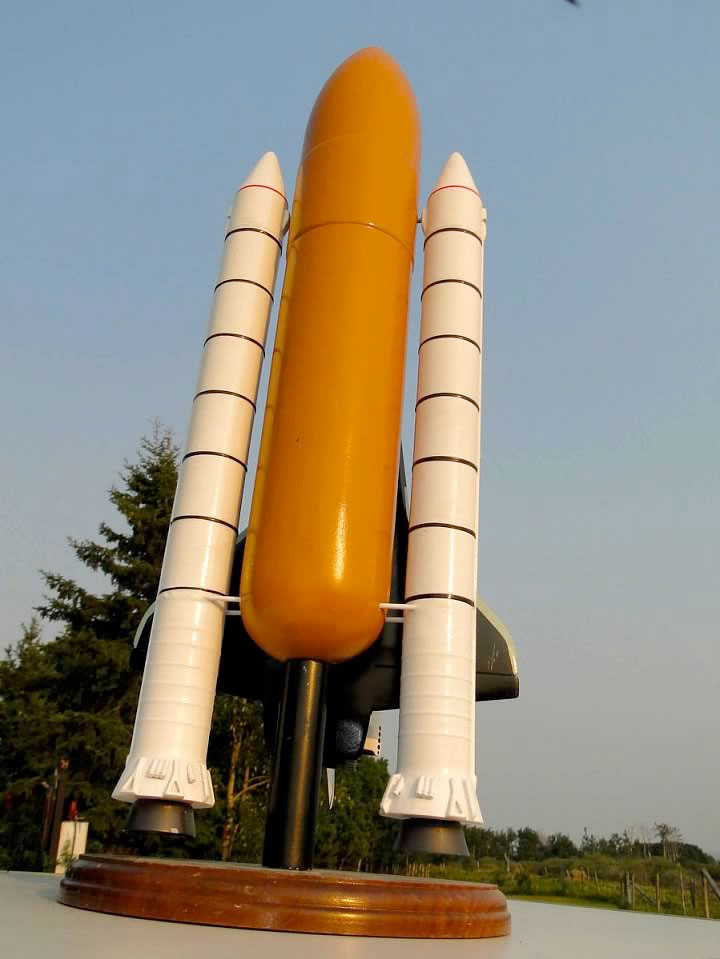
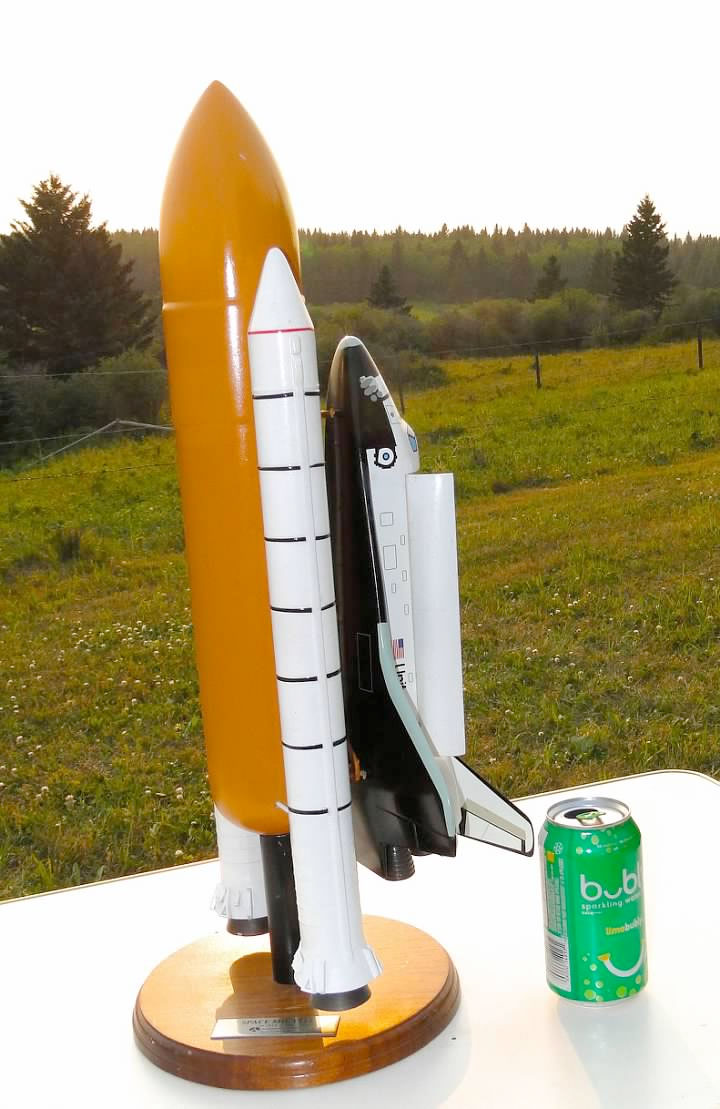
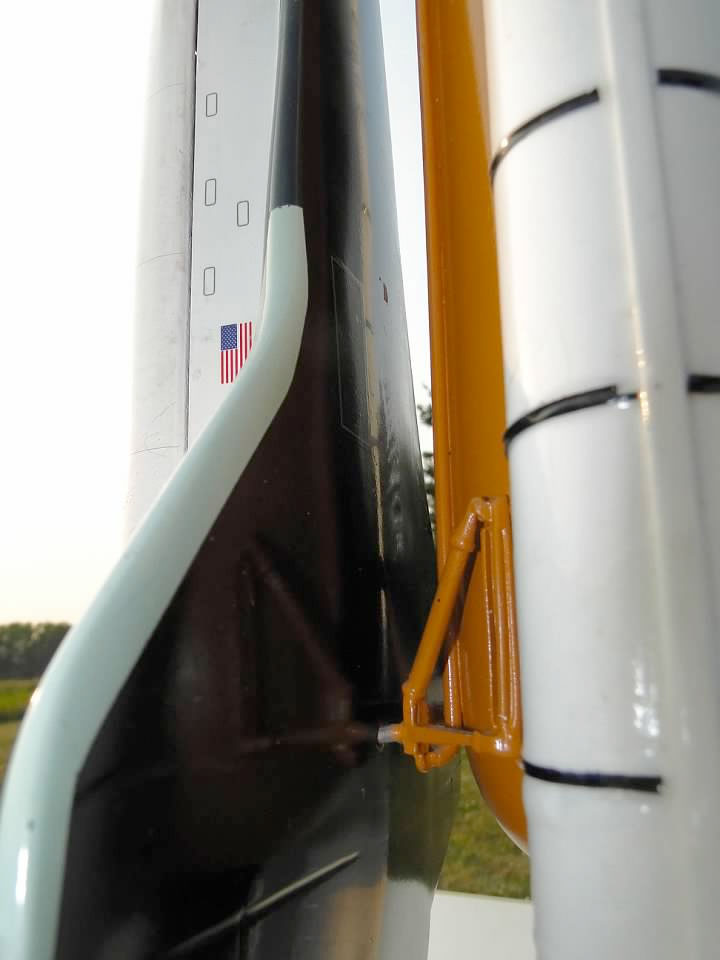
Both boosters had to be resin epoxied together around new heavy wire pylons to attach to the lower part of the fuel tank. Then I had to sand and finish the shape. That was challenging. Then I repainted the lower two-thirds of each booster. I added the black trim separating the booster sections and applied about six coats of a semi-gloss clear coat.
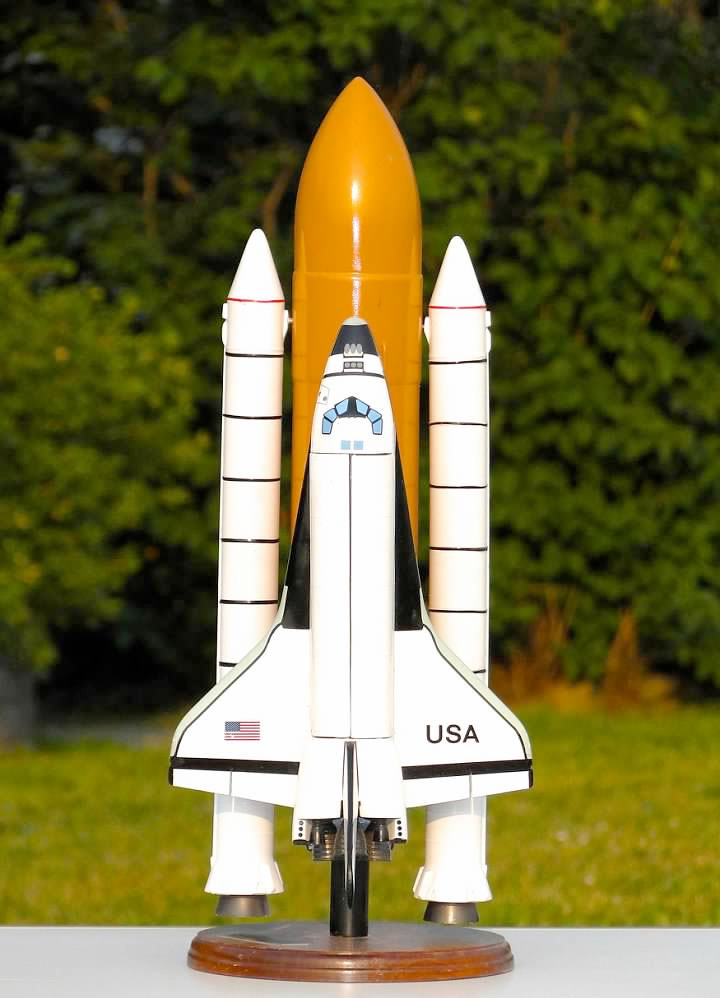
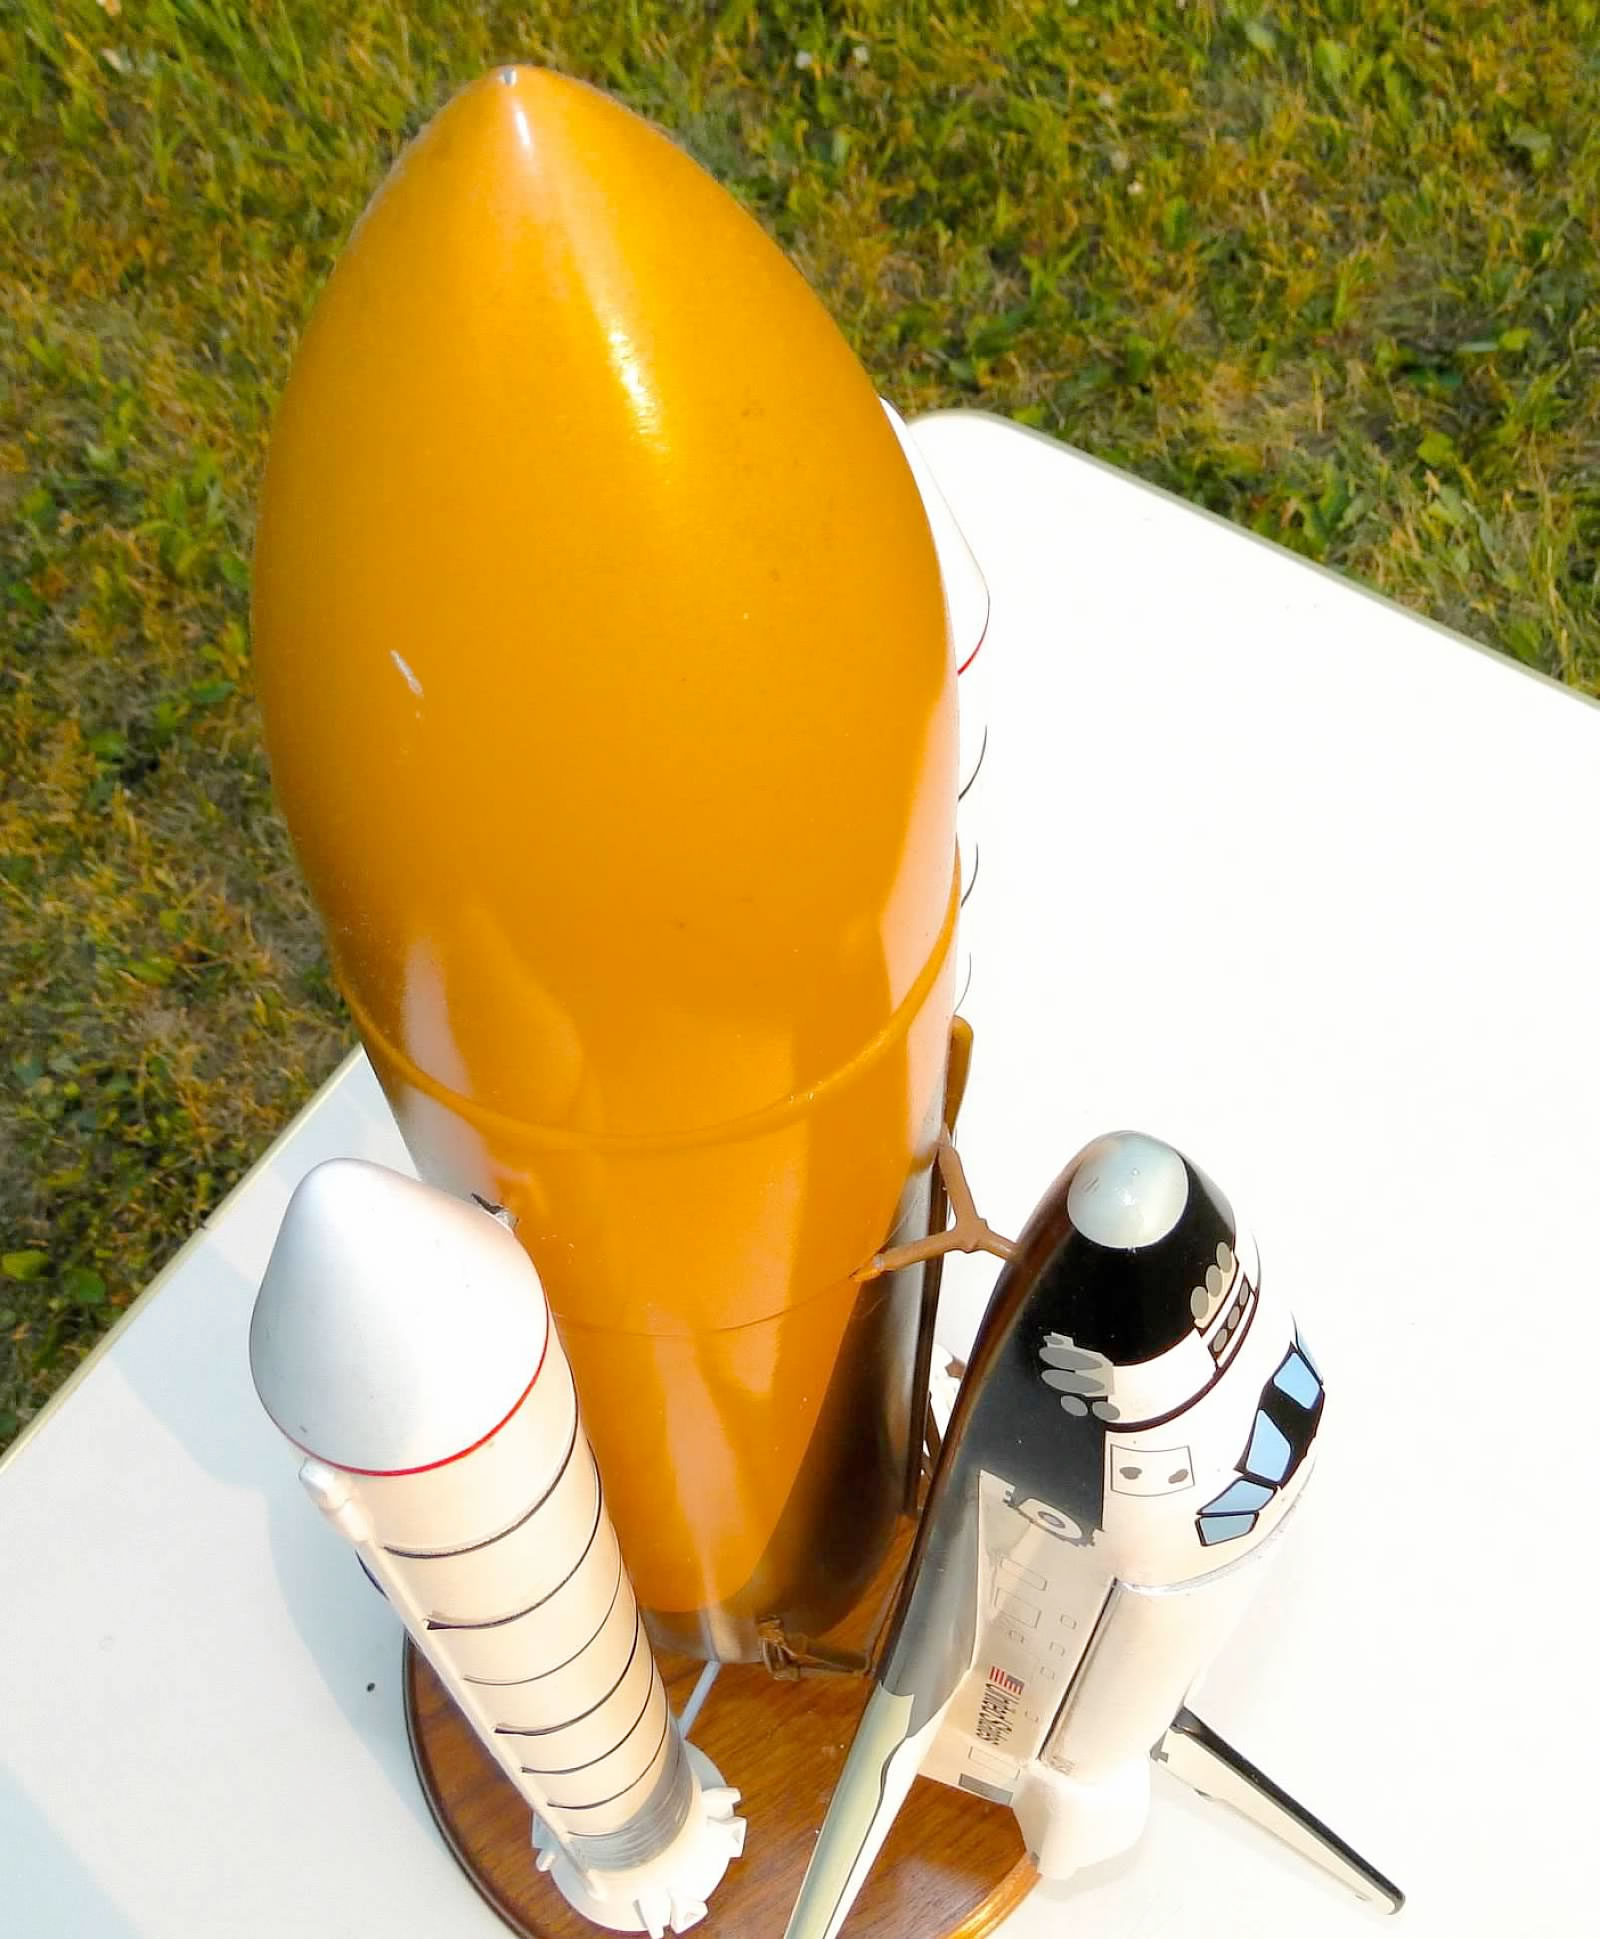
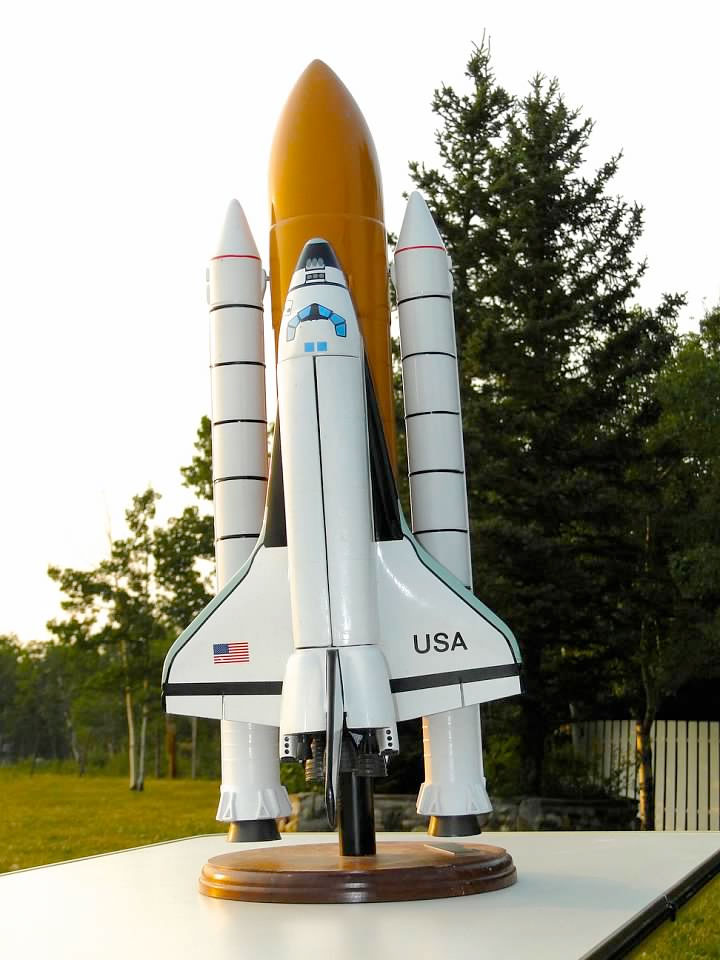
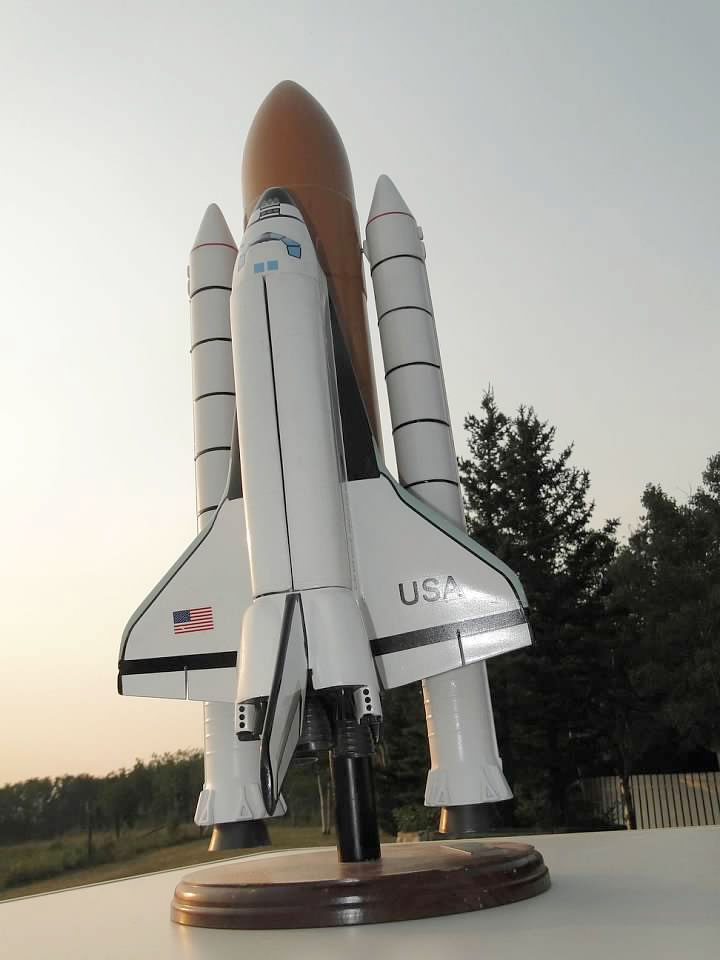
I just got it together yesterday and took these pictures. I neglected to take any before pictures to contrast the work. There are still some touchups to tackle but overall I am happy with how it turned out. It is too big at nearly 24 inches tall to fit into any of my display cases so unless I build another case for it I suspect I will be selling or trading it down the road.


 posted 07-27-2021 08:25 PM