posted 01-24-2008 12:55 AM


I am bringing out another exciting shape in the history-making hypersonic aircraft family.I have been hiding this one for a long time and it is part of the series of new kit releases I am getting out since last year,including the Orion CEV spacecraft from NASA, and others that I will announce soon.
I begun that kit a good two or three years ago when the X-43-A made its first and second flight, with the second flight holding the absolute official speed record for an airbreathing aircraft with a speed of more than Mach 7.
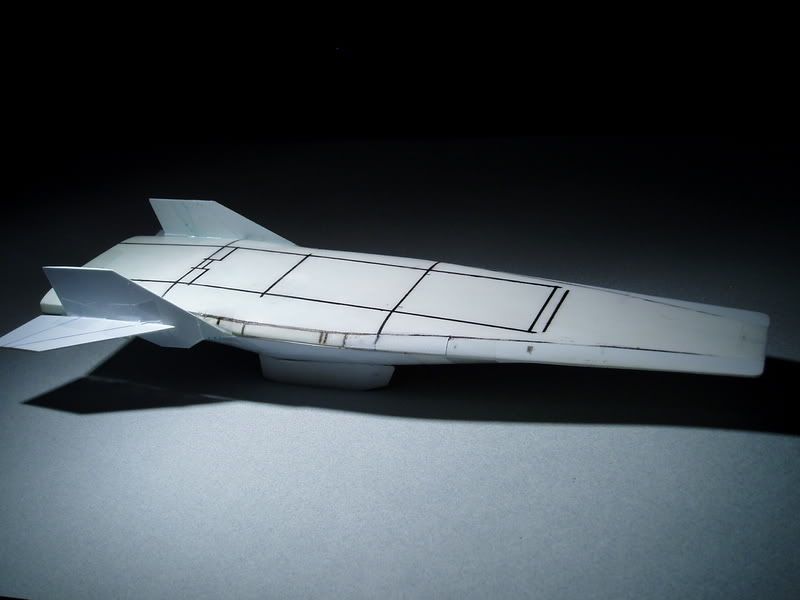
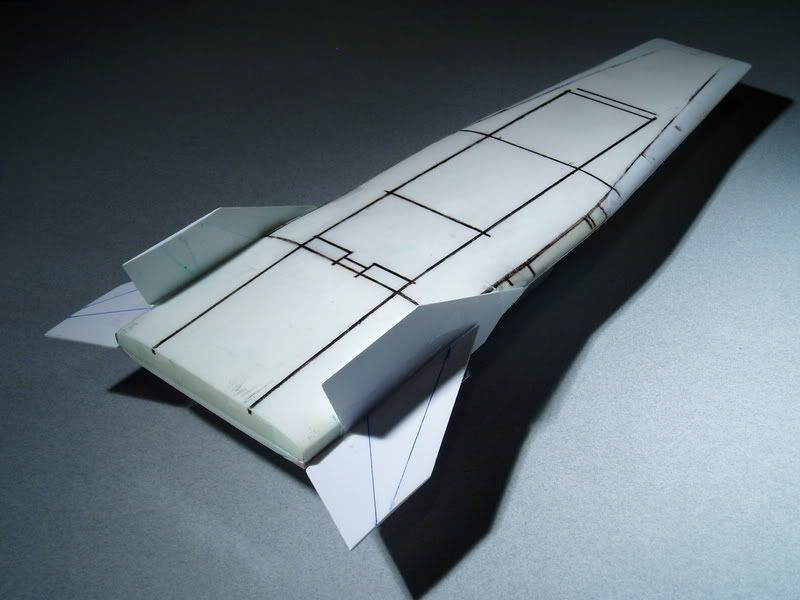
The model ended up sitting and catching dust for a long time after I started too many kit projects, but I was still working on it on and off. But now I have put the model back on track and as you can see it is now nearly complete. These pictures were taken about 2 weeks ago after I added the wings and fins, which are now only waiting for panel lines.
I am right now taking early orders for the kit. The price of the kit will be 120$, but I am offering it at 10$ off for any order taken before the end of the month of January.
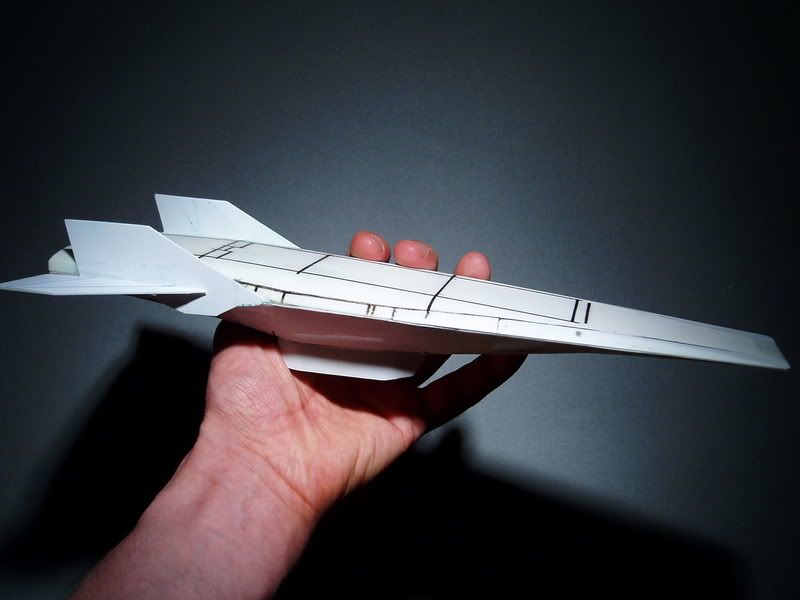
The kit is 1/12th scale.
Please don't pay too much attention to the panel lines on top of the fuselage, I drew those only for alignment purpose and for symmetry when building the master. The final panel lines will look totally different than what you see here.
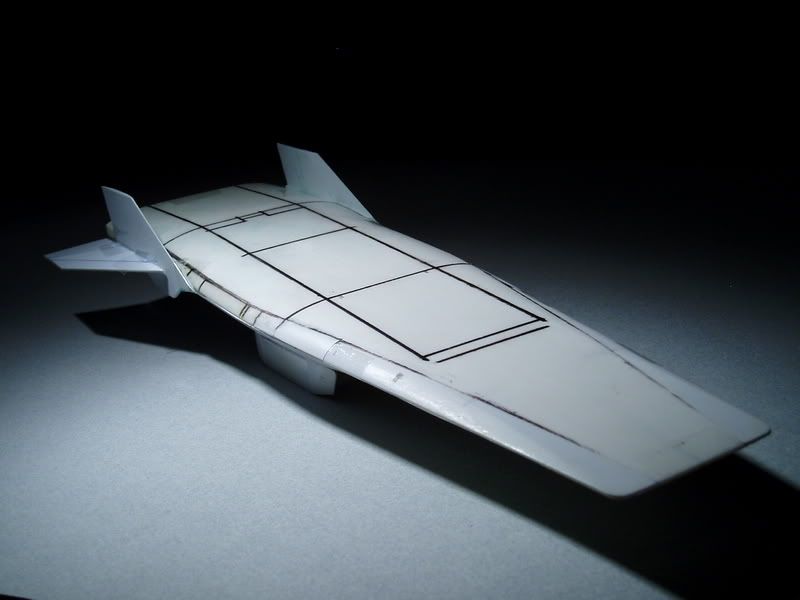
Right now the top fuselage shape is complete save for finally medium and fine sanding and scribing panel lines, and the only thing missing from the lower fuselage is the third compression ramp (which I will add last).
For a variety of reasons, I will make a fiberglass mold of the lower fuselage and reproduce it in fiberglass, that fiberglass copy will become the lower fuselage master and will be scribed.
The exterior of the scramjet engine is mostly complete except for its door which I will add soon.
During the making of the this kit I found out pretty early on that all the blueprints of that aircraft out there are wrong. They all had various problems, the most evident ones being that they lacked a hump on the back of the fuselage, all of them had the third ramp missing on the under-fuselage, and the shape of the scramjet engine and fins and side view profile and panel lines were all off. But the most obvious of all mistakes was that the platypus nose of the aircraft was way too narrow in all the drawings I saw. So I made my own much more complete and accurate drawings based in good part on the many photos I collected on the X-43A.
I also had to modify my own masters to widen the nose of the aircraft after the first flight of the X-43 when new photos became available, which showed clearly the nose being wider than drawings showed. I cut the sides of the nose and inserted plastic wedge to widen it, solidly attached with metal rods glued in.
So I will now have the most accurate model of the X-43A Hyper-X, with the correct hump on its back, the three compression ramps, the correct shape of fins and the correct panel lines pattern. I am probably going to add as well the boundary layers trip (since I have several NASA research documents on X-43A, with many details and photos showing as well various full-scale wind test tunnel models of the engine and fuselage. I also have found a picture of the inside of the engine.. which they were very discreet about at NASA (in all photos published publicly, they never showed the inside of the scramjet (except on the one I found in a technical reference).
I will post more pictures of how the kit started, as the master for this kit started as a wood master.
To design the model, I made balsa wood masters of the two fuselage halves and then vacformed a plastic sheet on top of them. Those plastic forms were then attached to MDF boards and polyurethane resin was poured from the back end of them to form the master parts shown here.
Because the lower fuselage wood master was built a little too thick, I spent considerable time filling the resin underside part to bring it to its final shape but here you can see its final thickness.


 posted 01-24-2008 12:55 AM